Intro into hosting II: self-hosting your own containers
Previously, we've hosted a small piece of code. As complexity grows, this gets more difficult. We take a look at why containers make this easier.

Disclaimer: This article introduces hosting concepts using easy to use tools. Don't take the approach outlined here as a best practice for hosting anything professionally.
As a step up from hosting some simple HTML pages, I want to host open source services. We'll first do this on your local machine, before few move on to hosting on a server. To do this, we'll use a free too use tool called Docker.
If you haven't read the previous hosting article and you want to go over some basics, check it out here:

What is Docker and why use it?
As described by it's creators, "Docker is an open platform for developing, shipping, and running applications". What this means is that after a developer has a working version of their application, they can choose to use Docker to create an "image" of their software. The image can be uploaded to a Docker registry, such as Docker Hub. Registries are libraries of docker images and their different versions and allow people wanting to run the image t0 pull it to their host system and run it. Running an image creates a container, which will be running on the Docker Engine. This is the only dependency required to be installed on the host system, which is one of the main benefits of distributing software in a containerized form.
How is an application packaged? Firstly, the developer needs to create a Dockerfile. This is a file describing the steps needed to build the application and the resource needed run it. A Dockerfile is used by Docker's CLI (command line interface) to create the docker image by executing the steps.
To get an idea of how a Docker image is created, then turned into a hosted container, we'll create a docker image from our own code. We'll also run it to see how containers can be created, managed, debugged and stopped. To do this, first, we'll need to install the Docker Engine. At the time of writing, Windows, MacOS and Linux all have the Docker Desktop application available for use. This will install a GUI for viewing and managing running containers as well as the Docker Engine.
To continue, download and install the Docker Desktop application from the link below:

After Docker Desktop is installed, you'll be greeted by Docker Desktop's dashboard. This will be listing running containers, downloaded images, although in your case, it'll start empty.
If you were following along in the previous article, we'll continue with the same HTML files. If you're joining here, I recommend you read the first article in the series. You can find the files here for reference: https://github.com/bzatrok/blog-content. They should be in the learn_hosting folder in your home directory.
The first thing we'll do is open the Terminal, then navigate to the learn_hosting folder:
cd learn_hosting
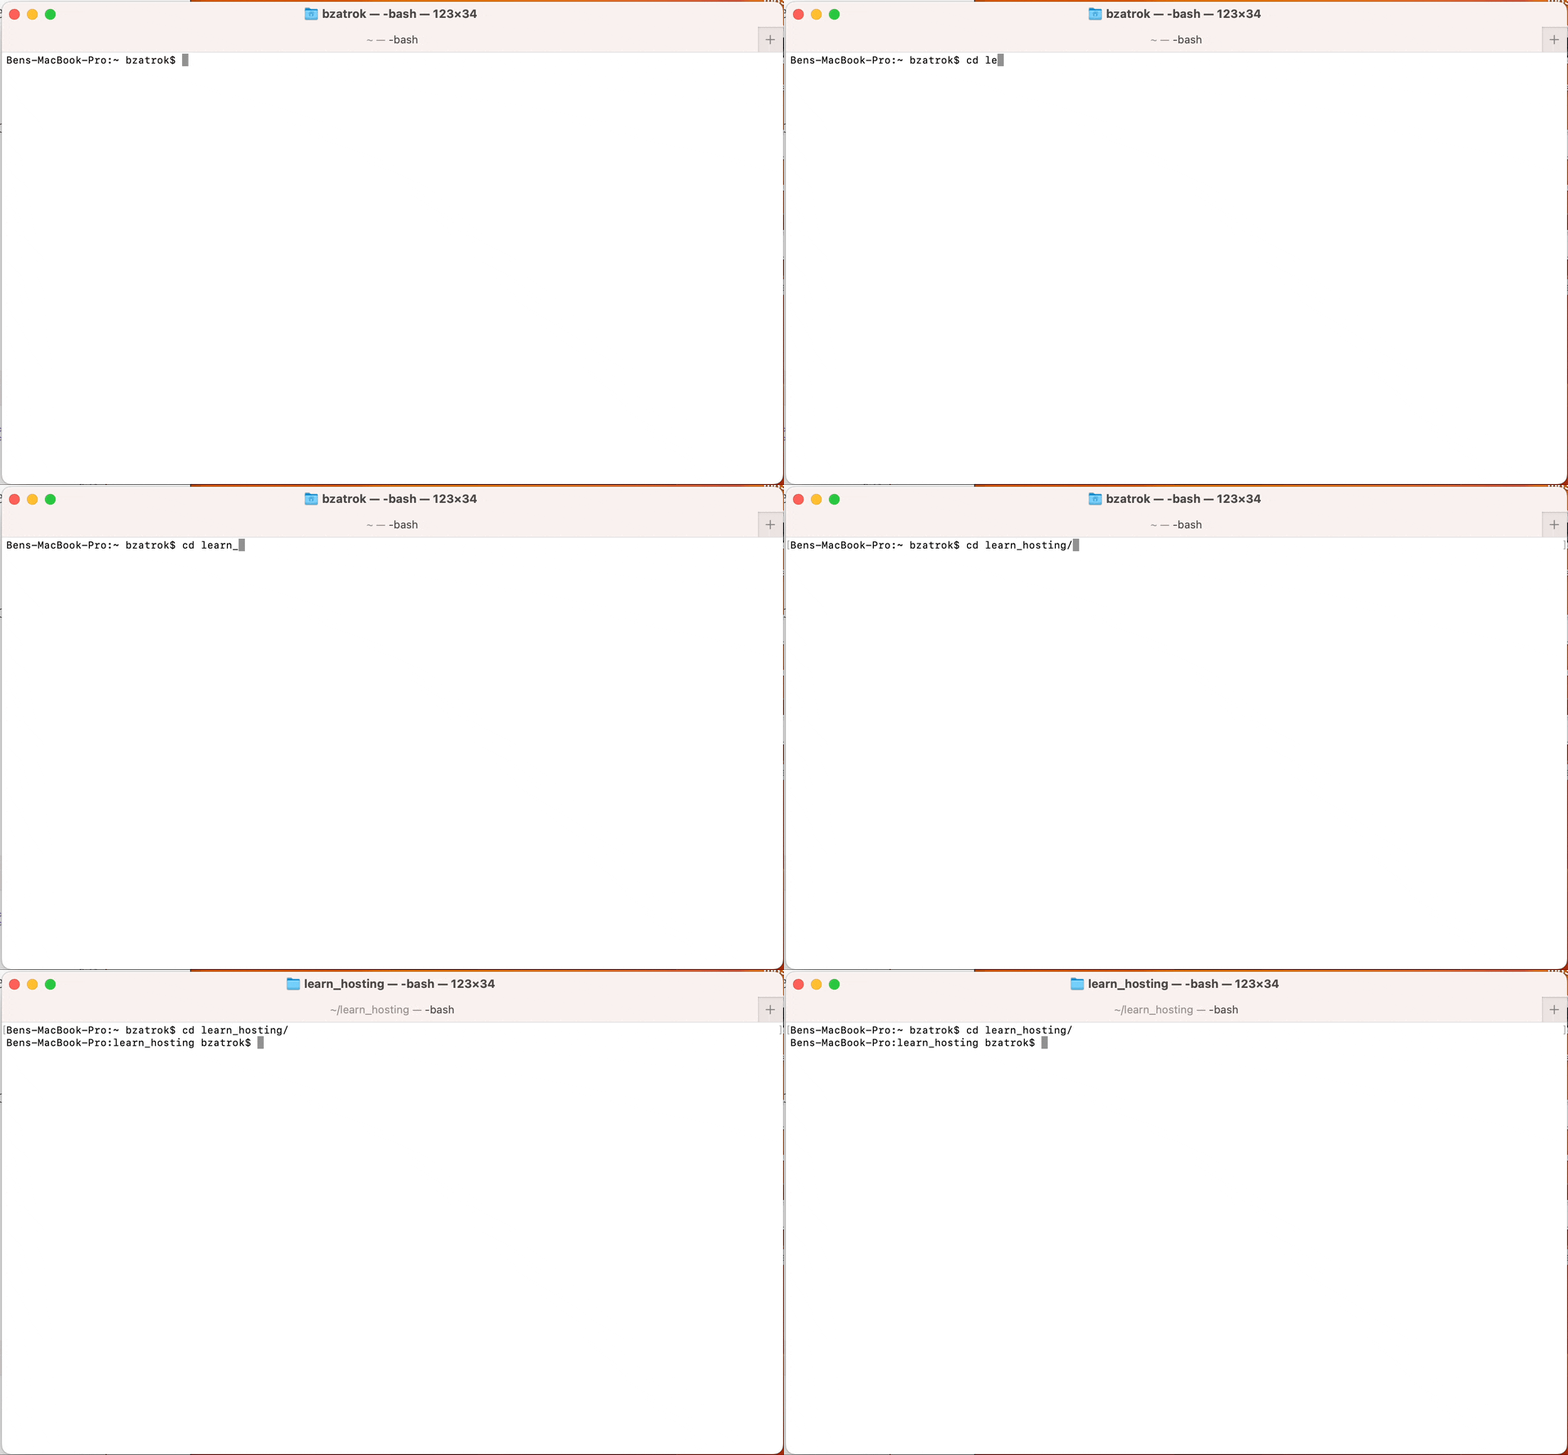
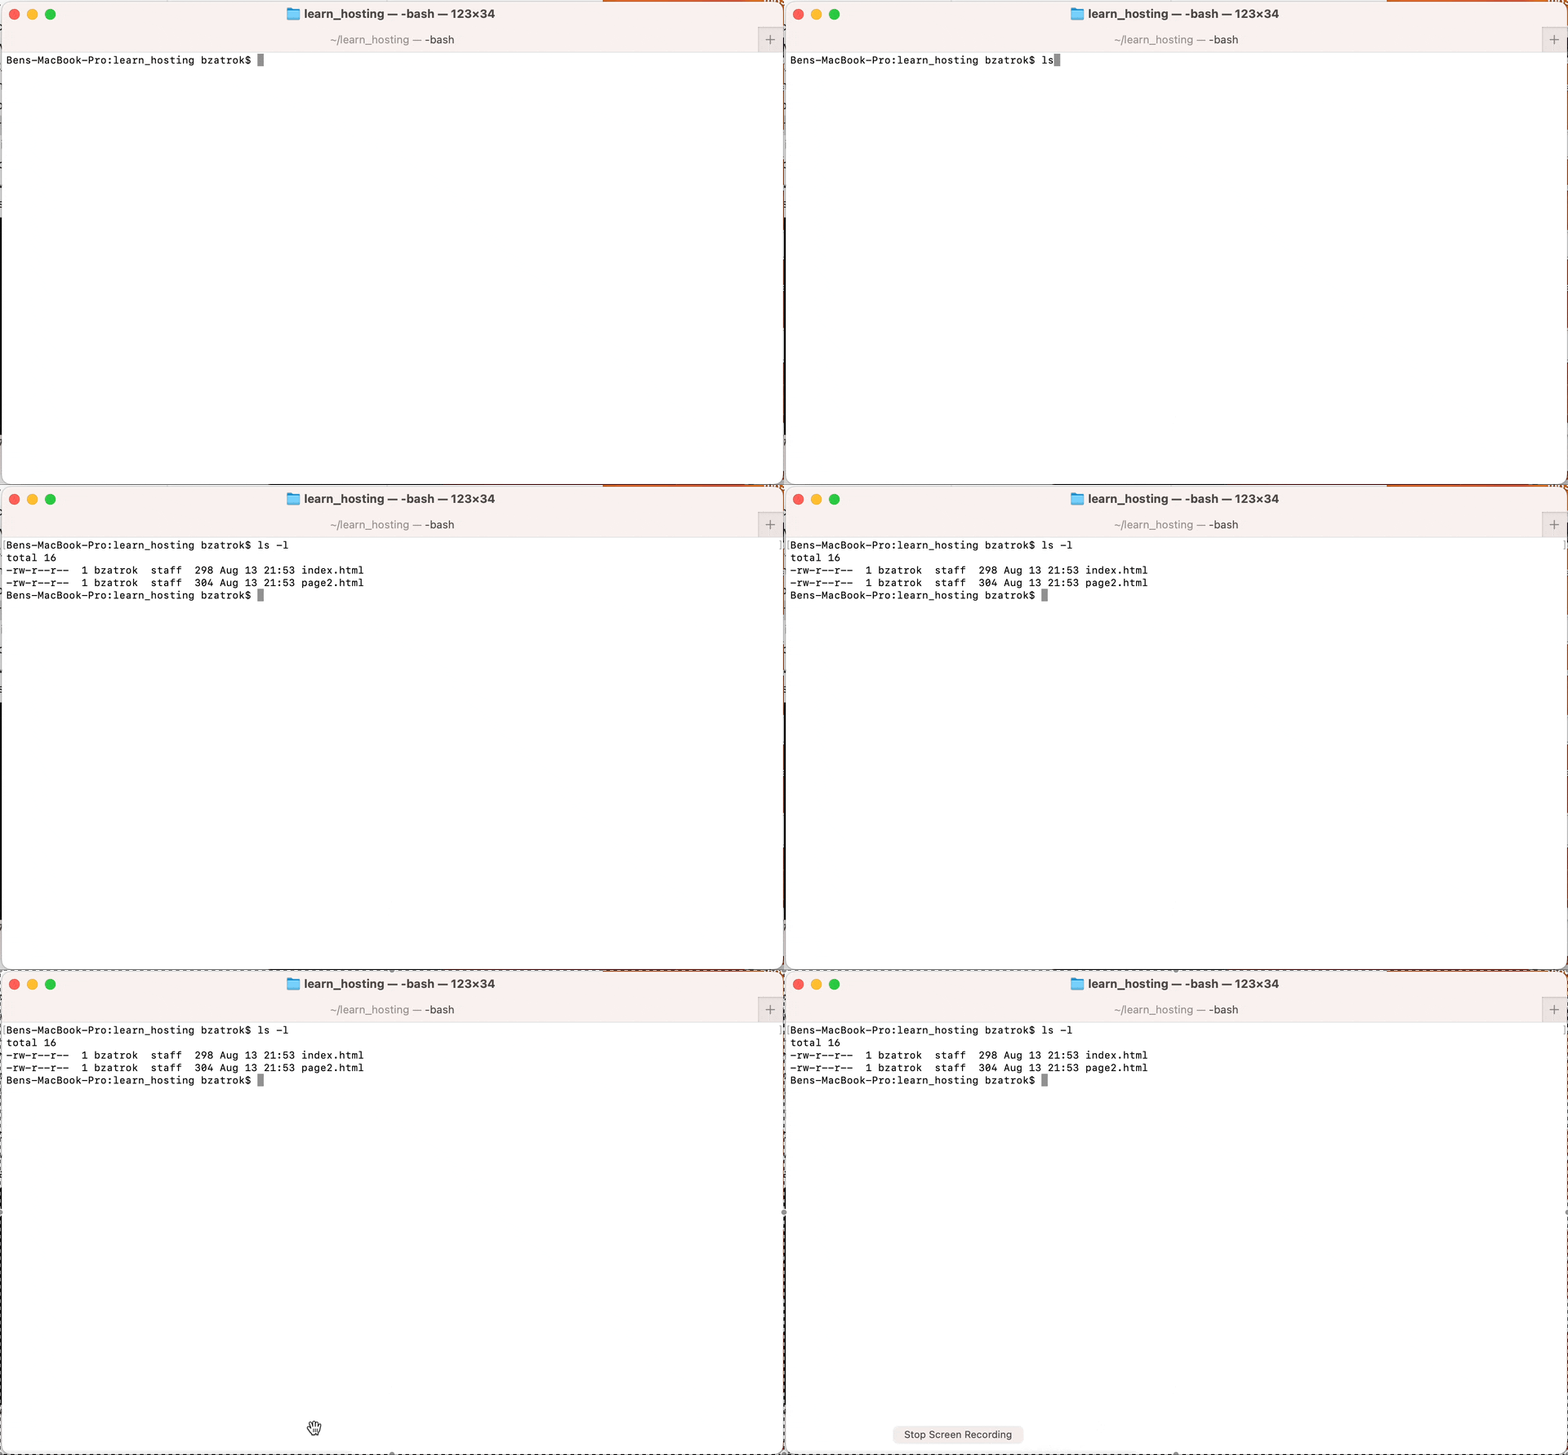
You should have two files in here. index.html and page2.html, which we created in he previous article. If they're not here, download them from the blog-content github link above. If you list the files in the directory, you should see something like this:
ls -l
Next, we need to create a Dockerfile to help create our docker image. We'll do this via the command line.
First, let's design our Dockerfile. Below is the complete file for creating the image from our files and for launching a server when a container is created from the image. It's components:
FROM python:3-alpine - The Dockerfile will most often start with a foundation image. In our case, this is a lightweight version (alpine) of the Python 3 environment. This means our container will have Python pre-installed and ready for use.
WORKDIR /usr/src/app - This sets the working directory inside the container. It's similar to using the mkdir and cd commands to create and navigate to a specific folder on your computer. Any operations we perform in the container will start from this directory. If the directory doesn't exist, Docker will create it for us.
COPY . . - Here, we're copying files from our local machine into the container. The first . means "current directory on our local machine" and the second . refers to the WORKDIR we set in the previous step. Our HTML files will be copied into the /usr/src/app folder inside the container.
EXPOSE 8000 - Indicate that our app inside the container will use port 8000. However, this doesn't actually open the port; it's more of a documentation step.
CMD ["python", "-m", "http.server", "8000"] - This is the command that will run when the container starts. It's like setting the default action for when you turn on a device. Here, we're telling Docker to start Python's built-in HTTP server on port 8000. This will serve our HTML files we copied into the container.
The full Dockerfile:
FROM python:3-alpineWORKDIR /usr/src/app
COPY . .
EXPOSE 8000CMD ["python", "-m", "http.server", "8000"]
We'll now need to create this Dockerfile in the learn_hosting folder. First, type this and press enter:
nano Dockerfile
This opens nano, a basic file editor, which you can use to edit files via the command line. Copy the above code and paste the code above into the Dockerfile by using Ctrl+V or Command+V on MacOS. To save and exit, press Ctrl+x, then y, then enter.
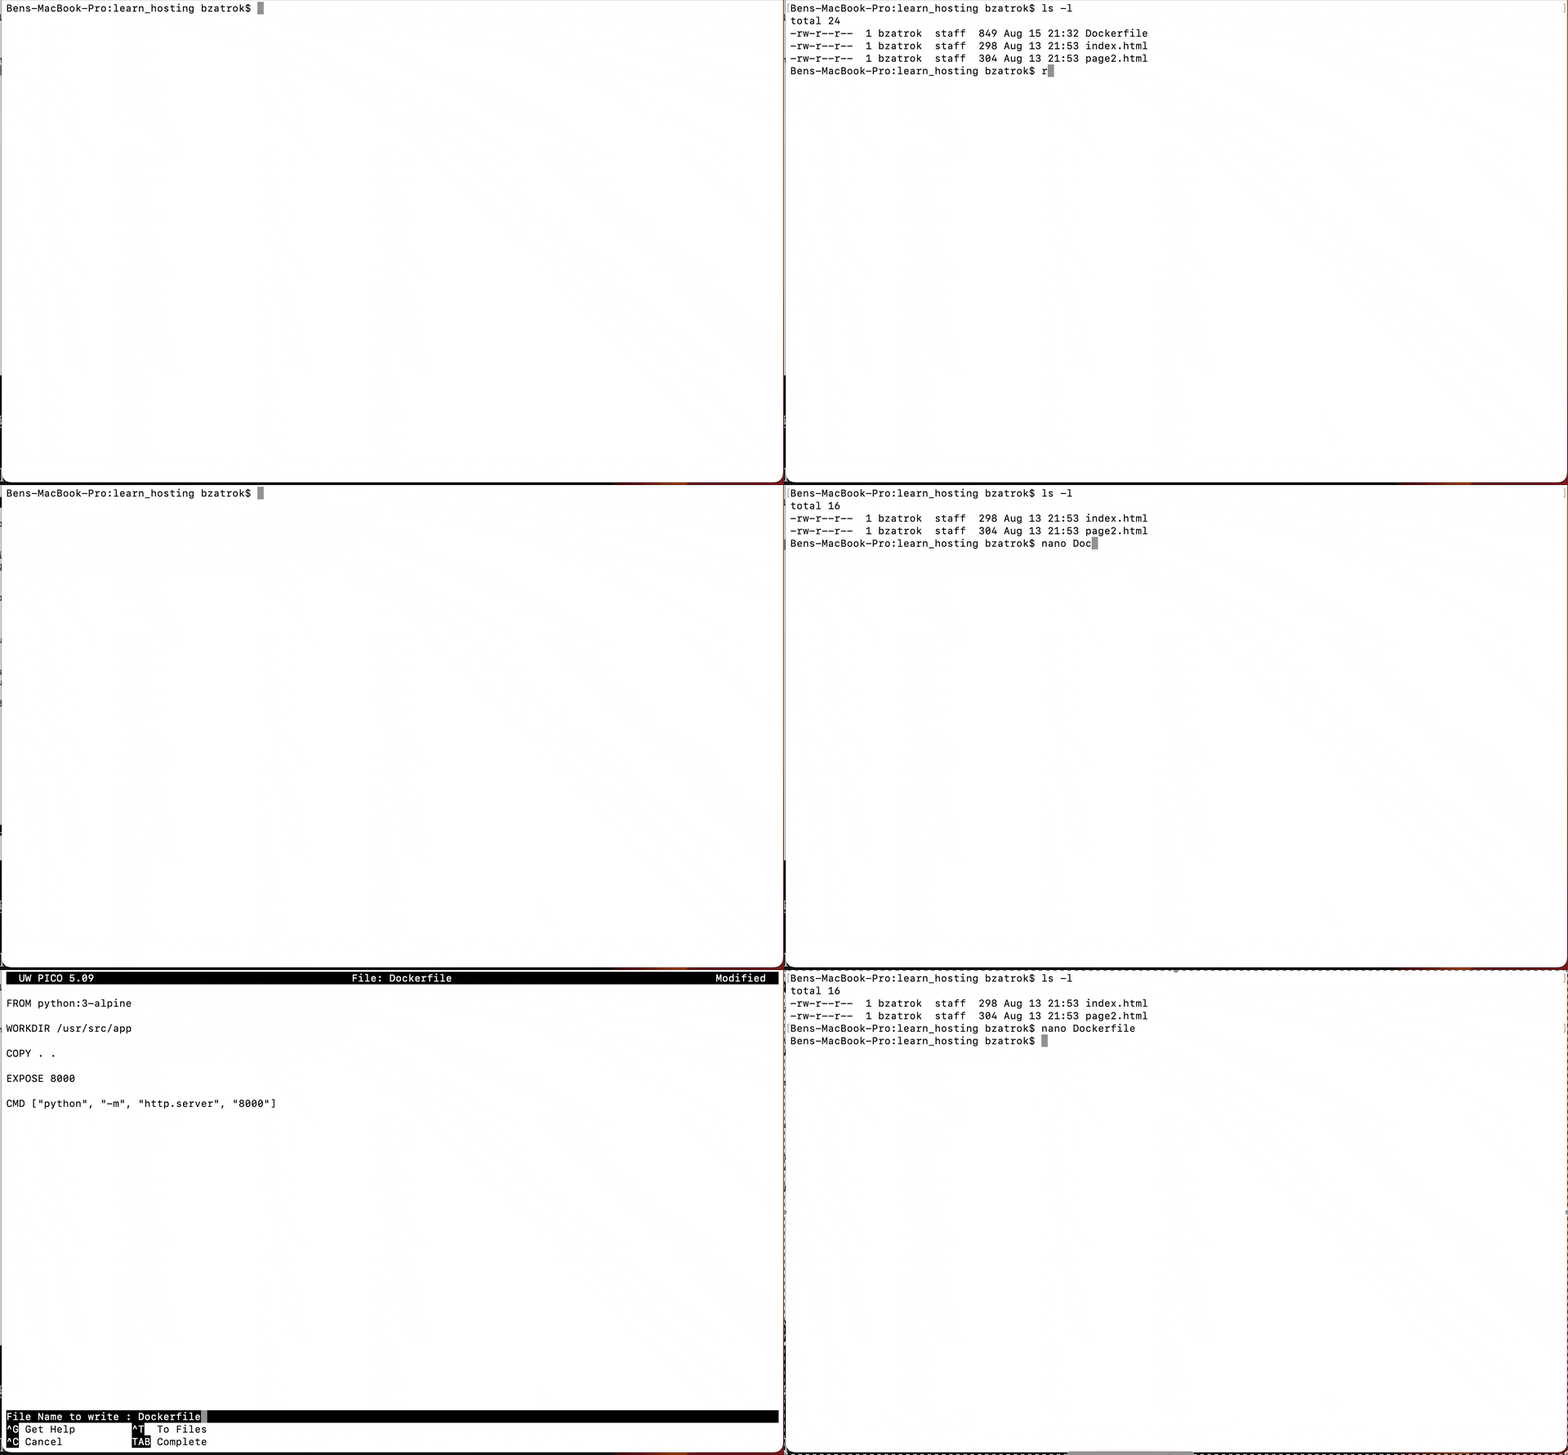
We can verify the everything went well. With a quick ls -l. To check the contents of the saved Dockerfile, you can always use the cat command, which will print the contents of a file. Try it out like this:
cat Dockerfile
You should see this kind of output.
Now, we're ready to get building. The contents of the folder are in place and the Dockerfile is ready. We can hand it over to the Docker engine & let it create an image.
To do this, we'll be using the docker CLI. Like many command line interfaces, the docker command gives you access to a large list of subcommands. Typing in docker -h will give you a short manual on the possible options:
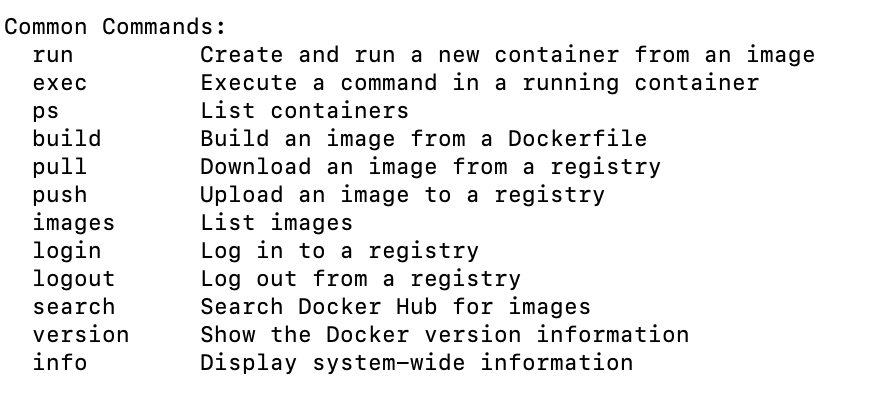
These are only the most common commands available, but we'll be using only build in the following step. The basic format of a build command is:
docker build -t learning/first-site:latest .
This will tell docker to build an image, -t argument names the image, in our case with the next argument, learning/first-site. The :latest part is a tag for the docker image, to mark that the currently built image is the latest version. Docker images are tagged to specify version information, information about what hardware platform they are available for or to mark that they're the latest image. Tags are unique, so if you tag an image with the 'latest' tag, it will clear that tag from the previously tagged image. The . at the end of the command will tell Docker to look in the current directory for the Dockerfile that describes the build steps.
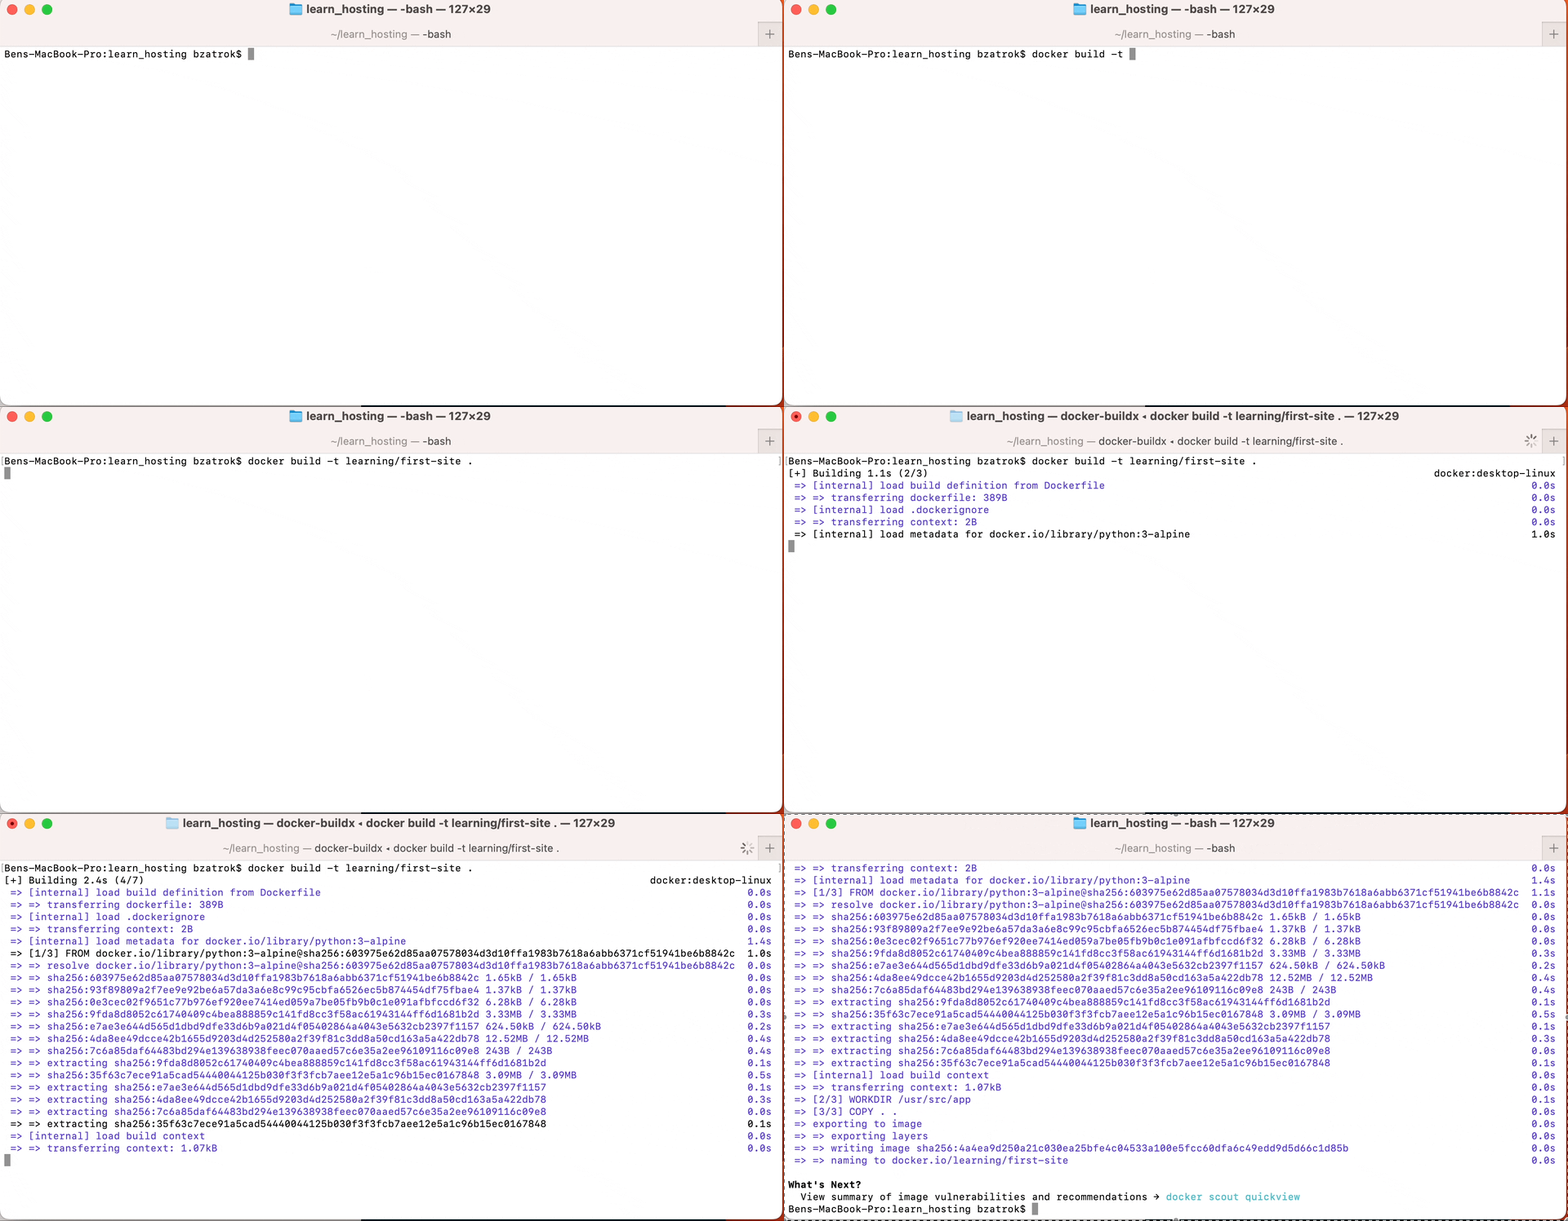
The build command above will execute the instructions laid out in the Dockerfile. This will results in a Docker image which will get stored in a directory managed by the docker cli. To verify that the image has been created, you can list the images available in Docker on your local machine with the following command:
docker image ls
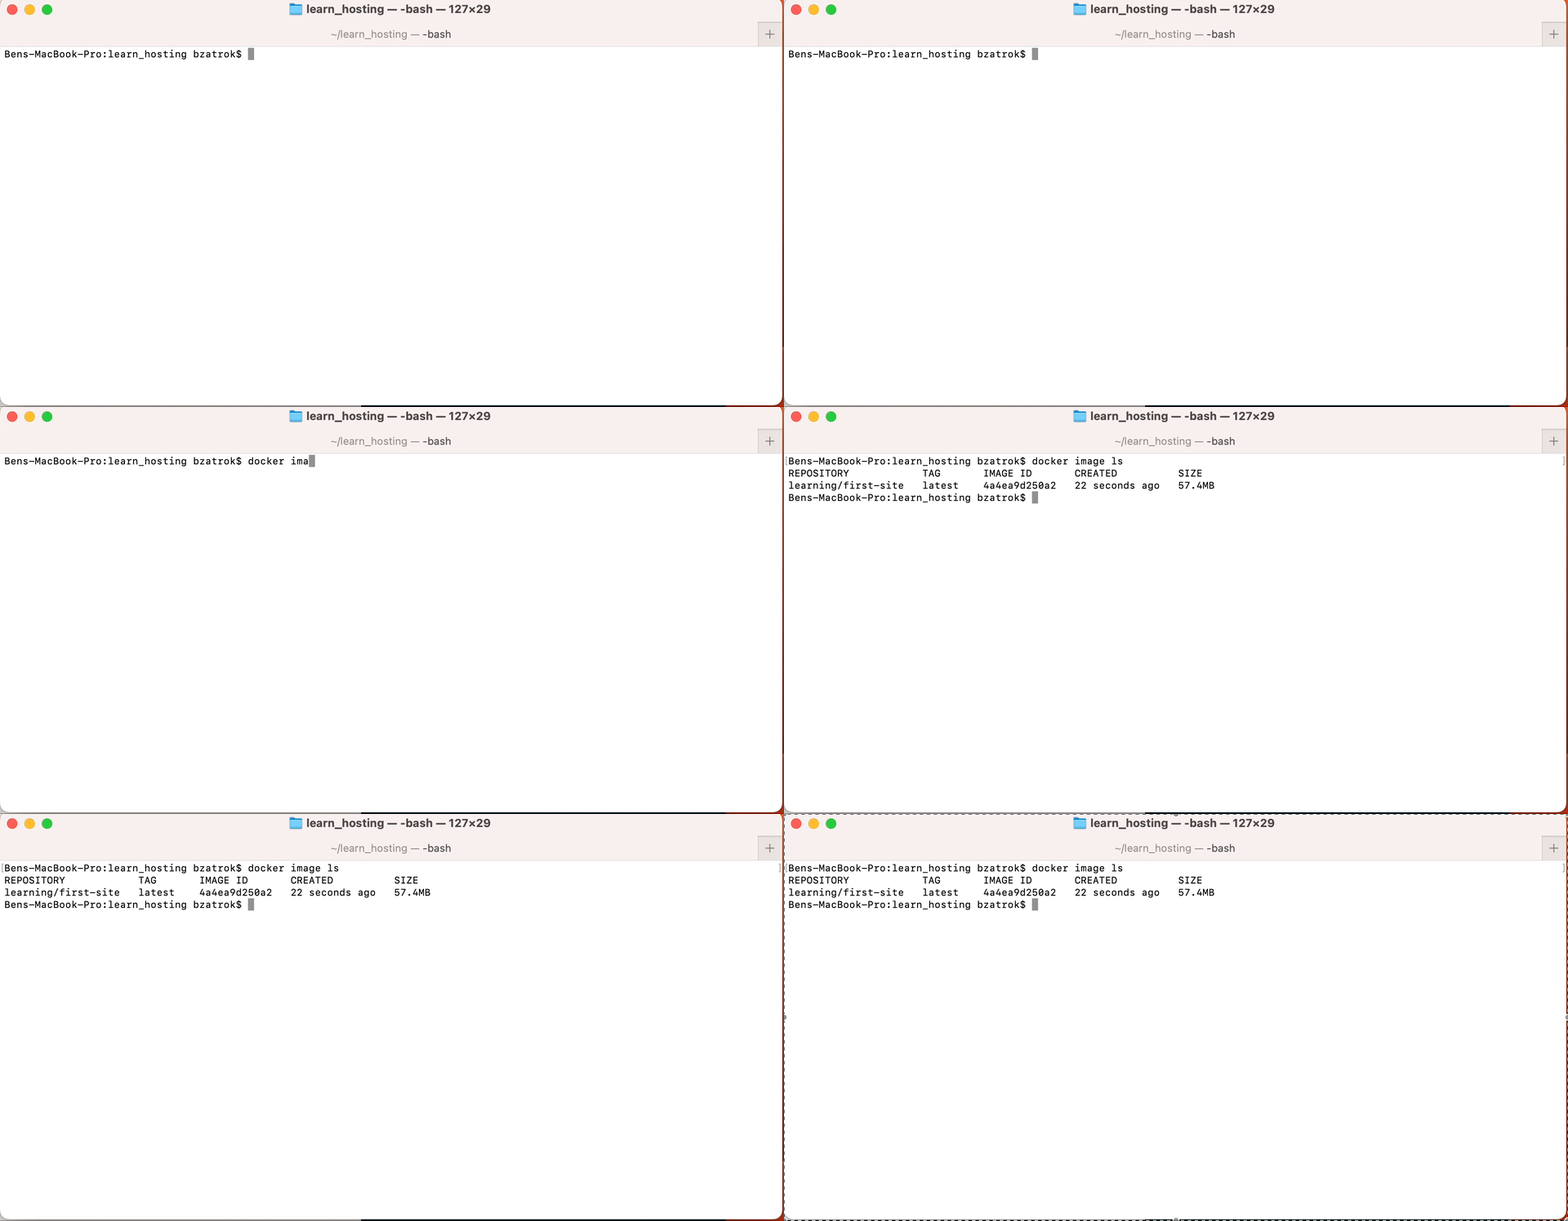
Great! The output tells use that there is an image available with the name of learning/first-site. Images listed here can be used directly for creation of containers, but docker will automatically check online if an image you want to run is missing.
We're ready for a quick test run. To create a container from the image, we'll need to execute this command:
docker run -p 8000:8000 -it learning/first-site:latest
This will tell first Docker that is should connect localhost port 8000 to port 8000 inside the docker container. Docker containers have their own local network and you need to 'bind' external ports on your local network to internal ports inside the container. This is why we need need to add the -p 8000:8000 argument to the command. The optional -it parameter will run docker in interactive terminal mode you should see the output in your terminal just like when you run it outside of Docker. The last part of a docker run command will specify the container, specifying the required version with a tag. In our case the only available tag is latest, so we'll use this.
When execute the run command, you should see this:
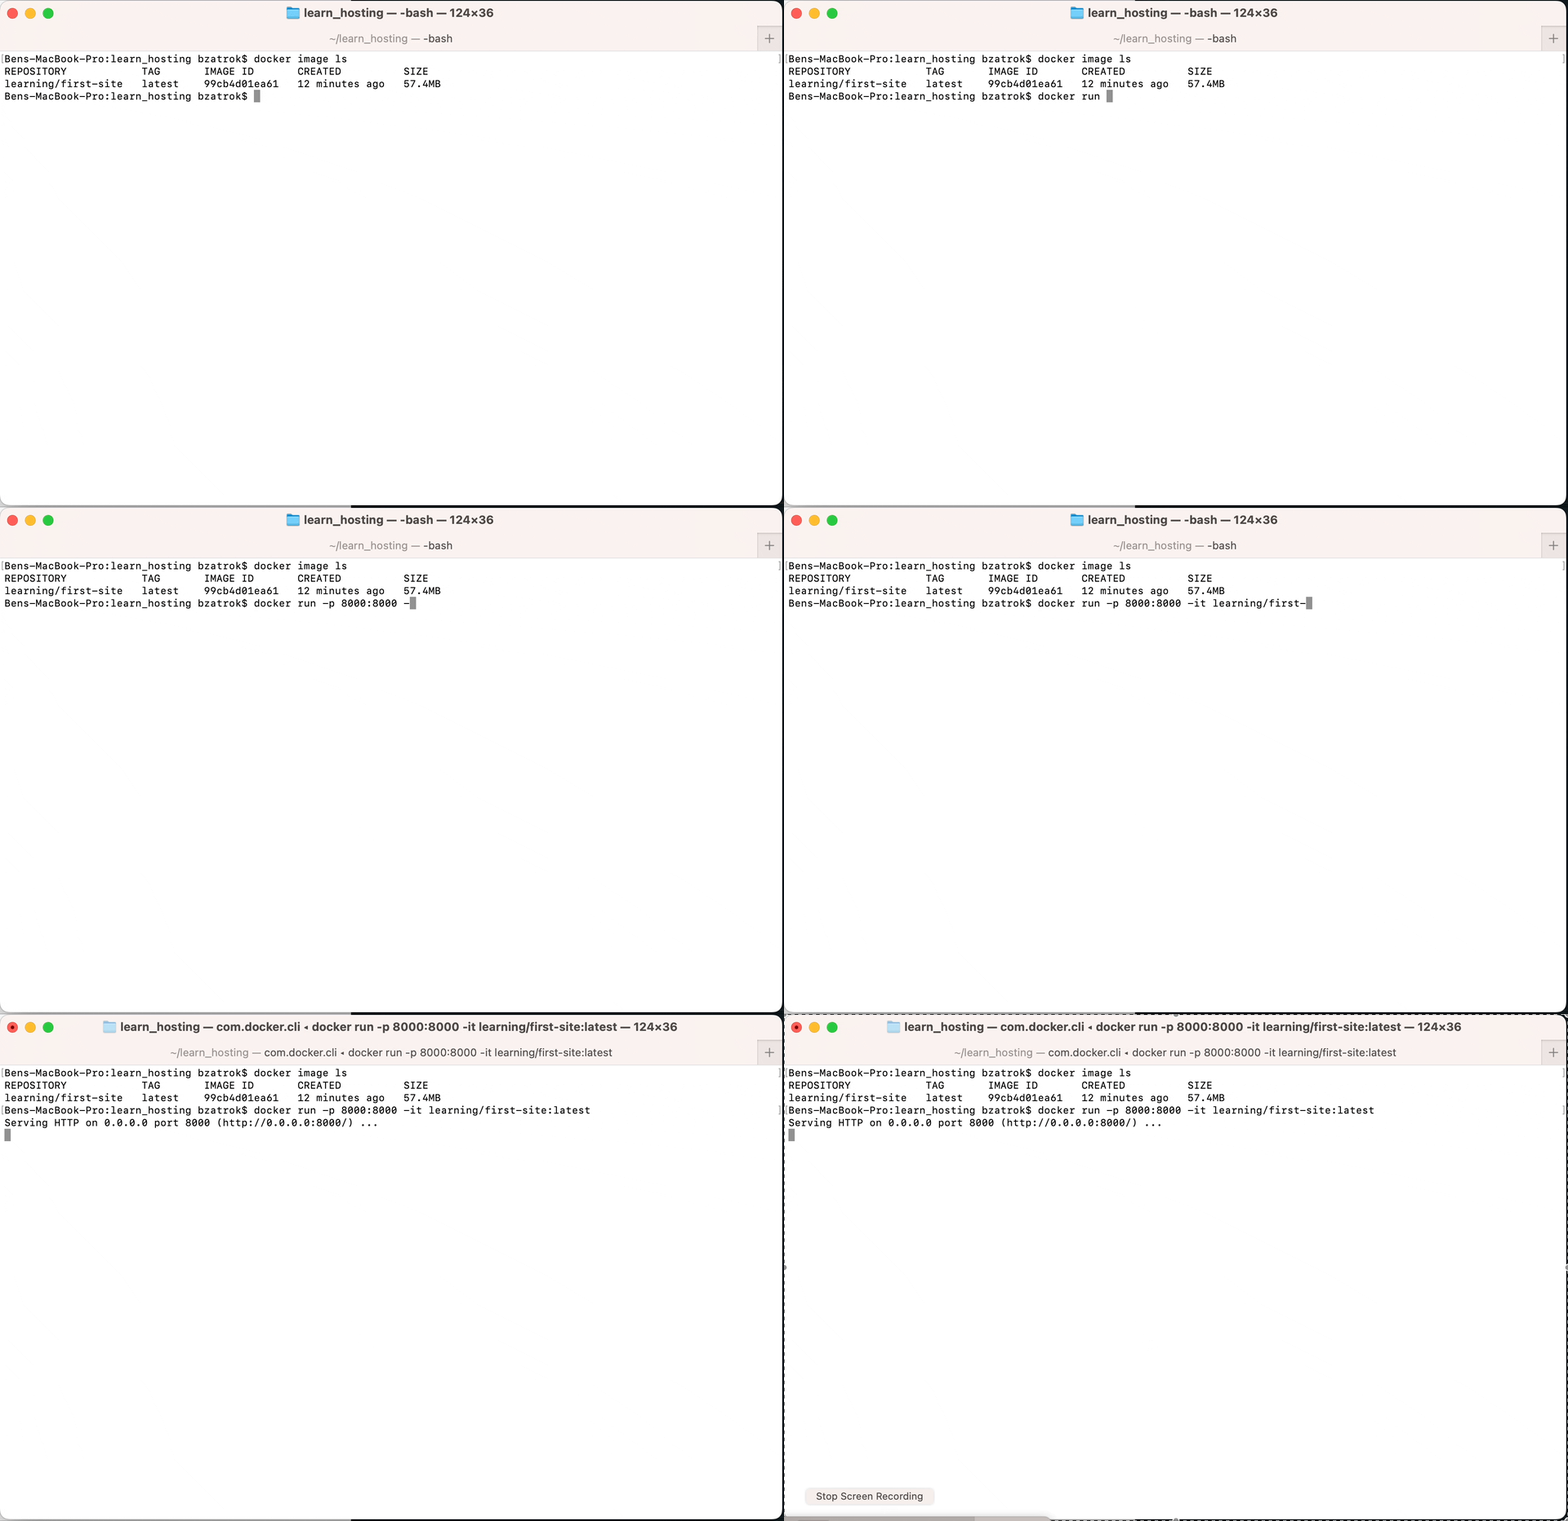
Looks familiar? This is the same output we got when we ran the python server on our local machine using python -m http.server. What you're seeing now is the console output from the docker container. You would run docker containers like this to test their behaviour.
When we're satisfied that the container is having as expected, it is ready to run in detached mode. We can stop the current container using Ctrl+c, then execute the run command again with an added -d parameter, which will created a container in 'detached' mode. Detached mode will run the container fully independently, meaning you won't see any output here and your terminal will just show a command prompt. Run this command when ready:
docker run -p 8000:8000 -d learning/first-site:latest
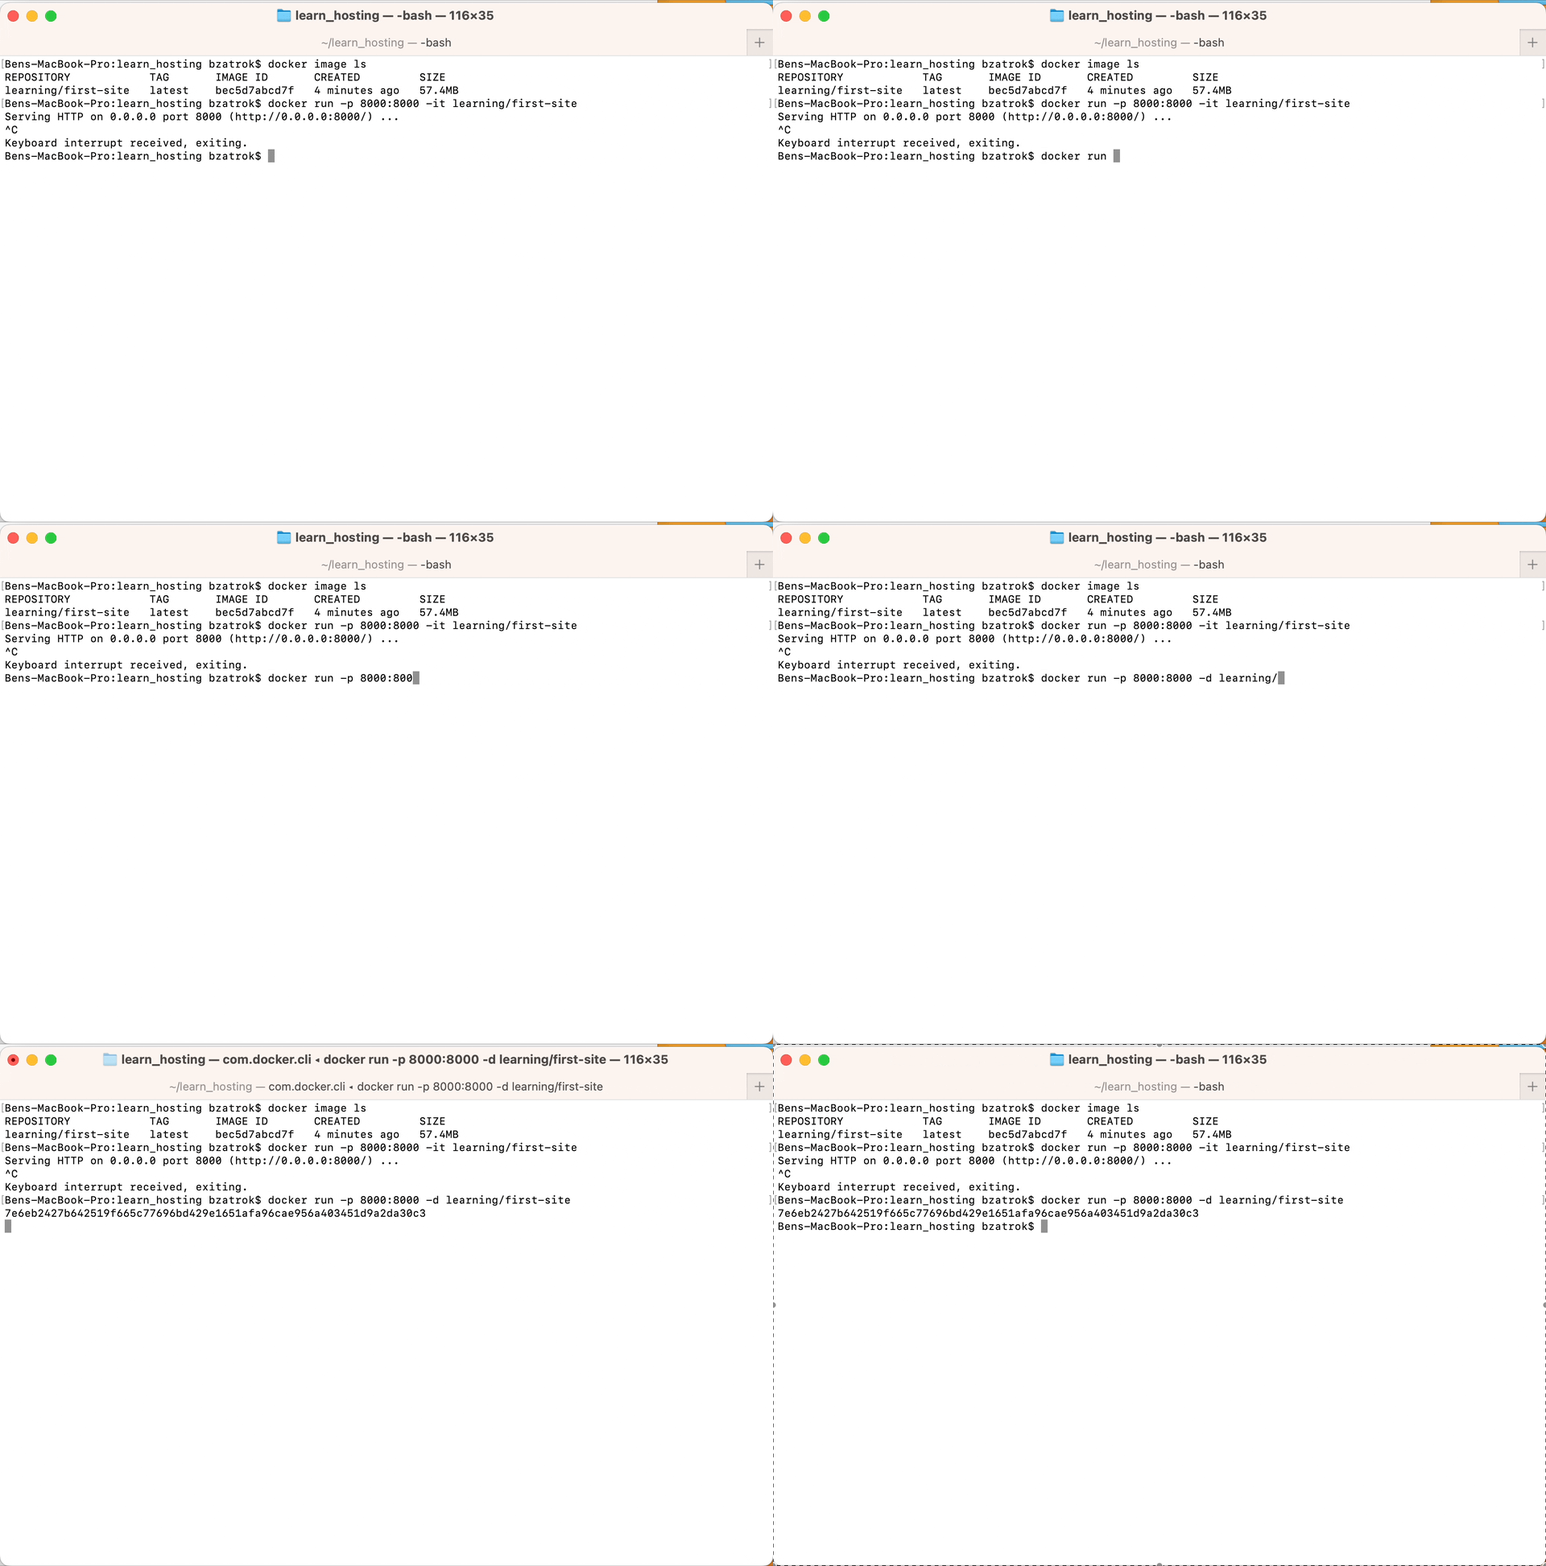
After running this, you will not see the familiar output that the server started up, only a jumble of letters and numbers. This is a hexadecimal string, which is used often in software development. It is a base 16 numerical system, using numbers from 0-9 plus the letters 'abcdef' to represent data in short pieces of text. In our case it's a unique identifier for the container made up of 64 characters, though the first 12 characters of this can also be used to identify the container in most cases.
But where did our container go? It was started in the background, in detached mode, which means it's doing the same thing as before, just not outputting it directly to your terminal. It also keeps running until you stop it explicitly or it crashes due to internal problems. To see how the container is doing, we need to list out the running container or use the provided container id to ask for information about the status of the container. The quickest way is this command:
docker ps
This will list out all running containers, their id, name, status and uptime.
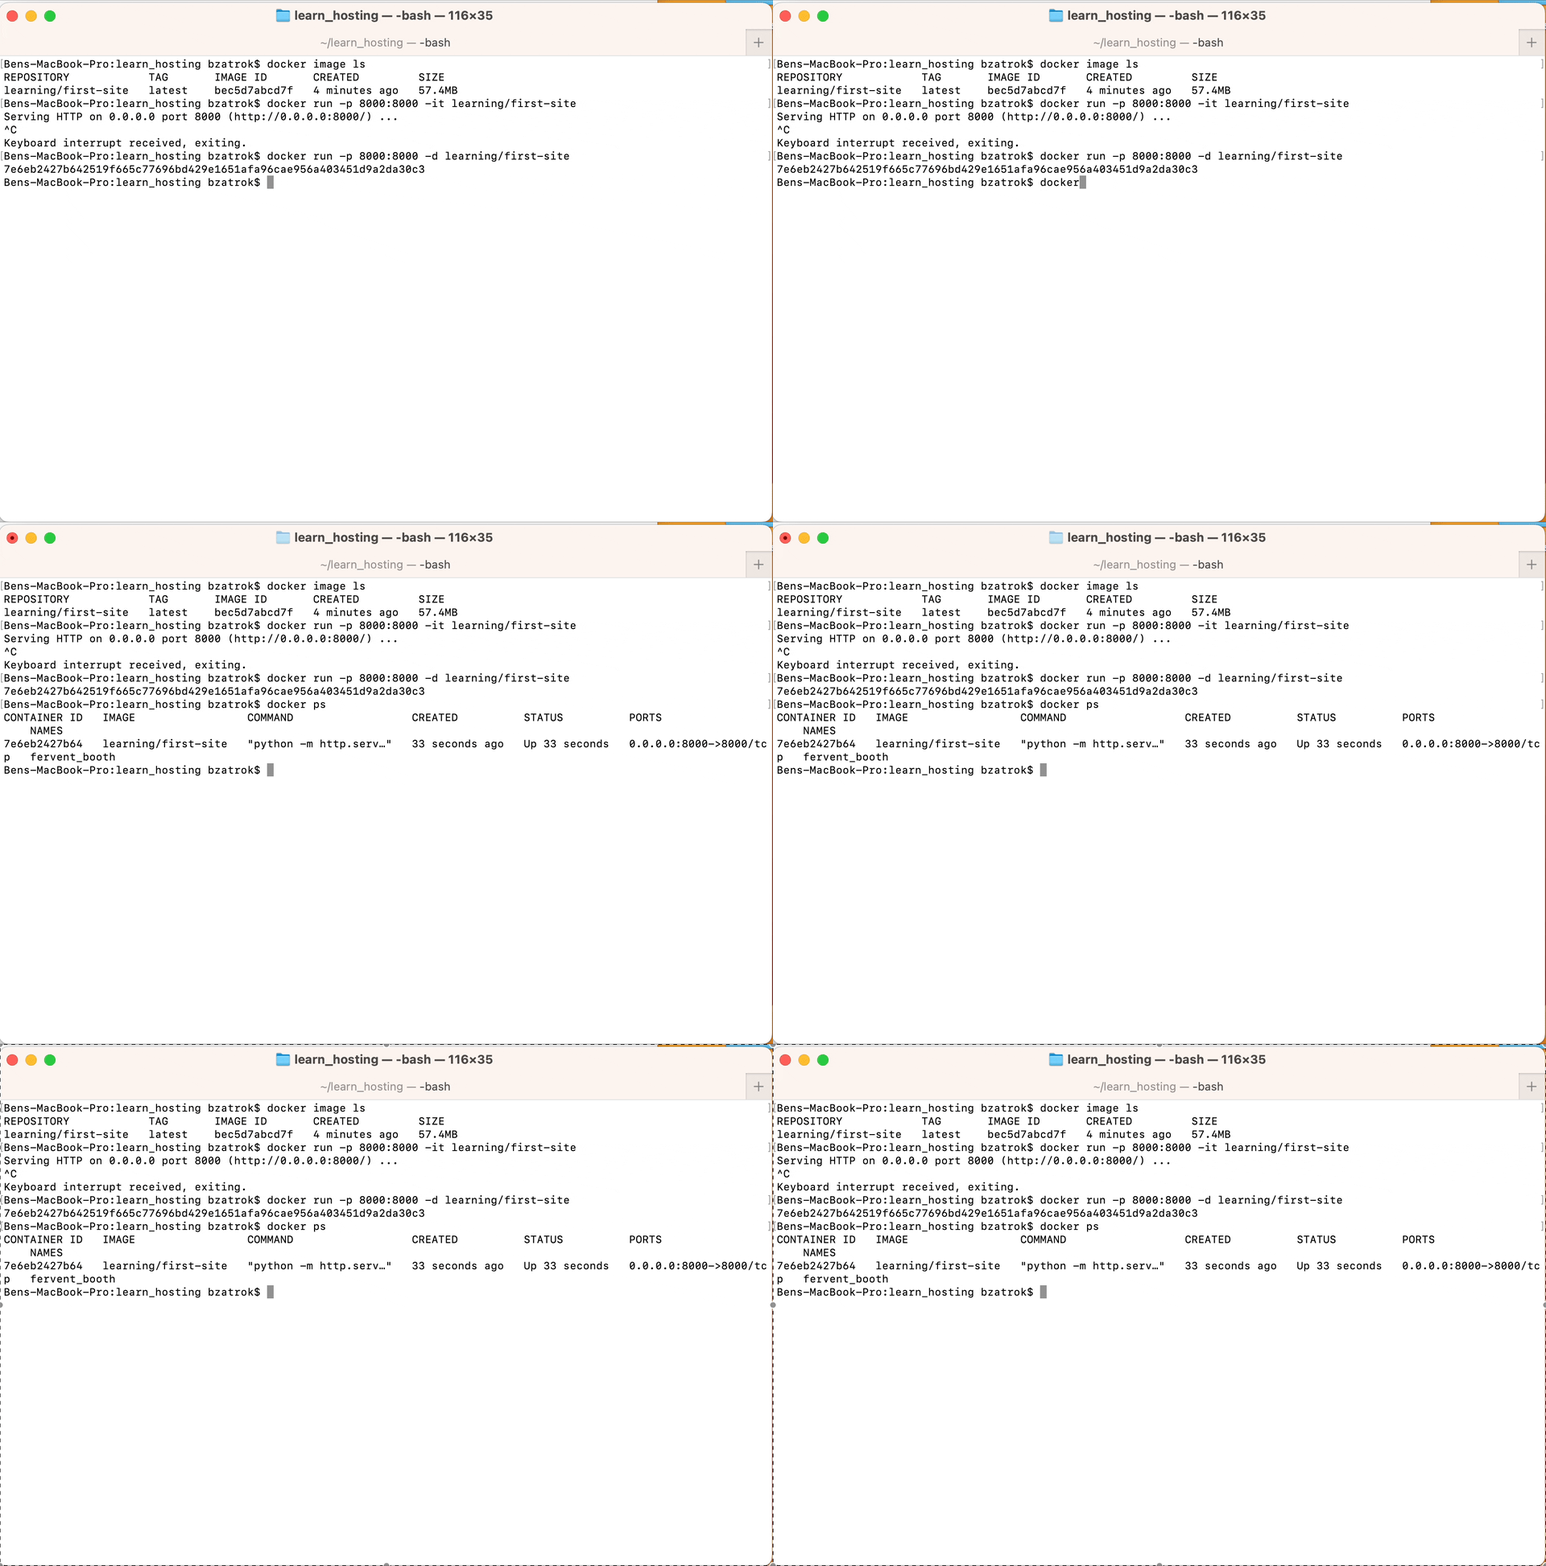
Here, we see that we have a container with the image learning/first-site running in docker. In my case, it has a container id, 7e6eb2427b64 , is running for 6 minutes successfully and is connecting (also called 'bind'-ing) localhost port 8000 to the container's internal 8000 port. To verify that the container indeed is running and doing what we expect it to do, go to http://localhost:8000:

Looks like all is well! The container has an internal python server which is returning our rendered HTML file, index.html which has been copied into the image during the build process. We also copied page2.html, let's check whether that is also reachable by visiting http://localhost:8000/page2.html:
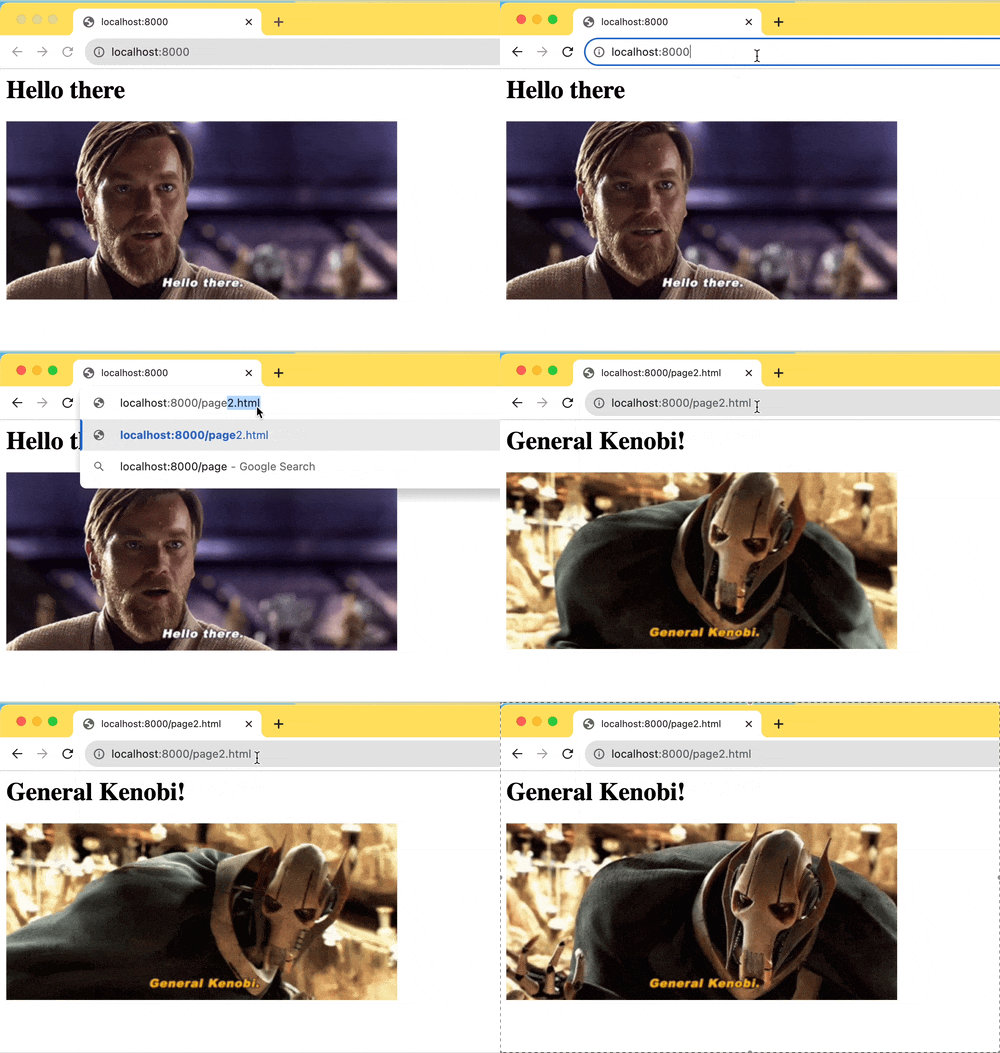
Also looking good! This means our container is running as expected. In case we want to get more insights into what the container is doing, we can use the docker logs [containerId] command, which will display the latest command line output from a given container id. If we copy our container's id into this command, we'll see this:
docker logs 7e6eb2427b64
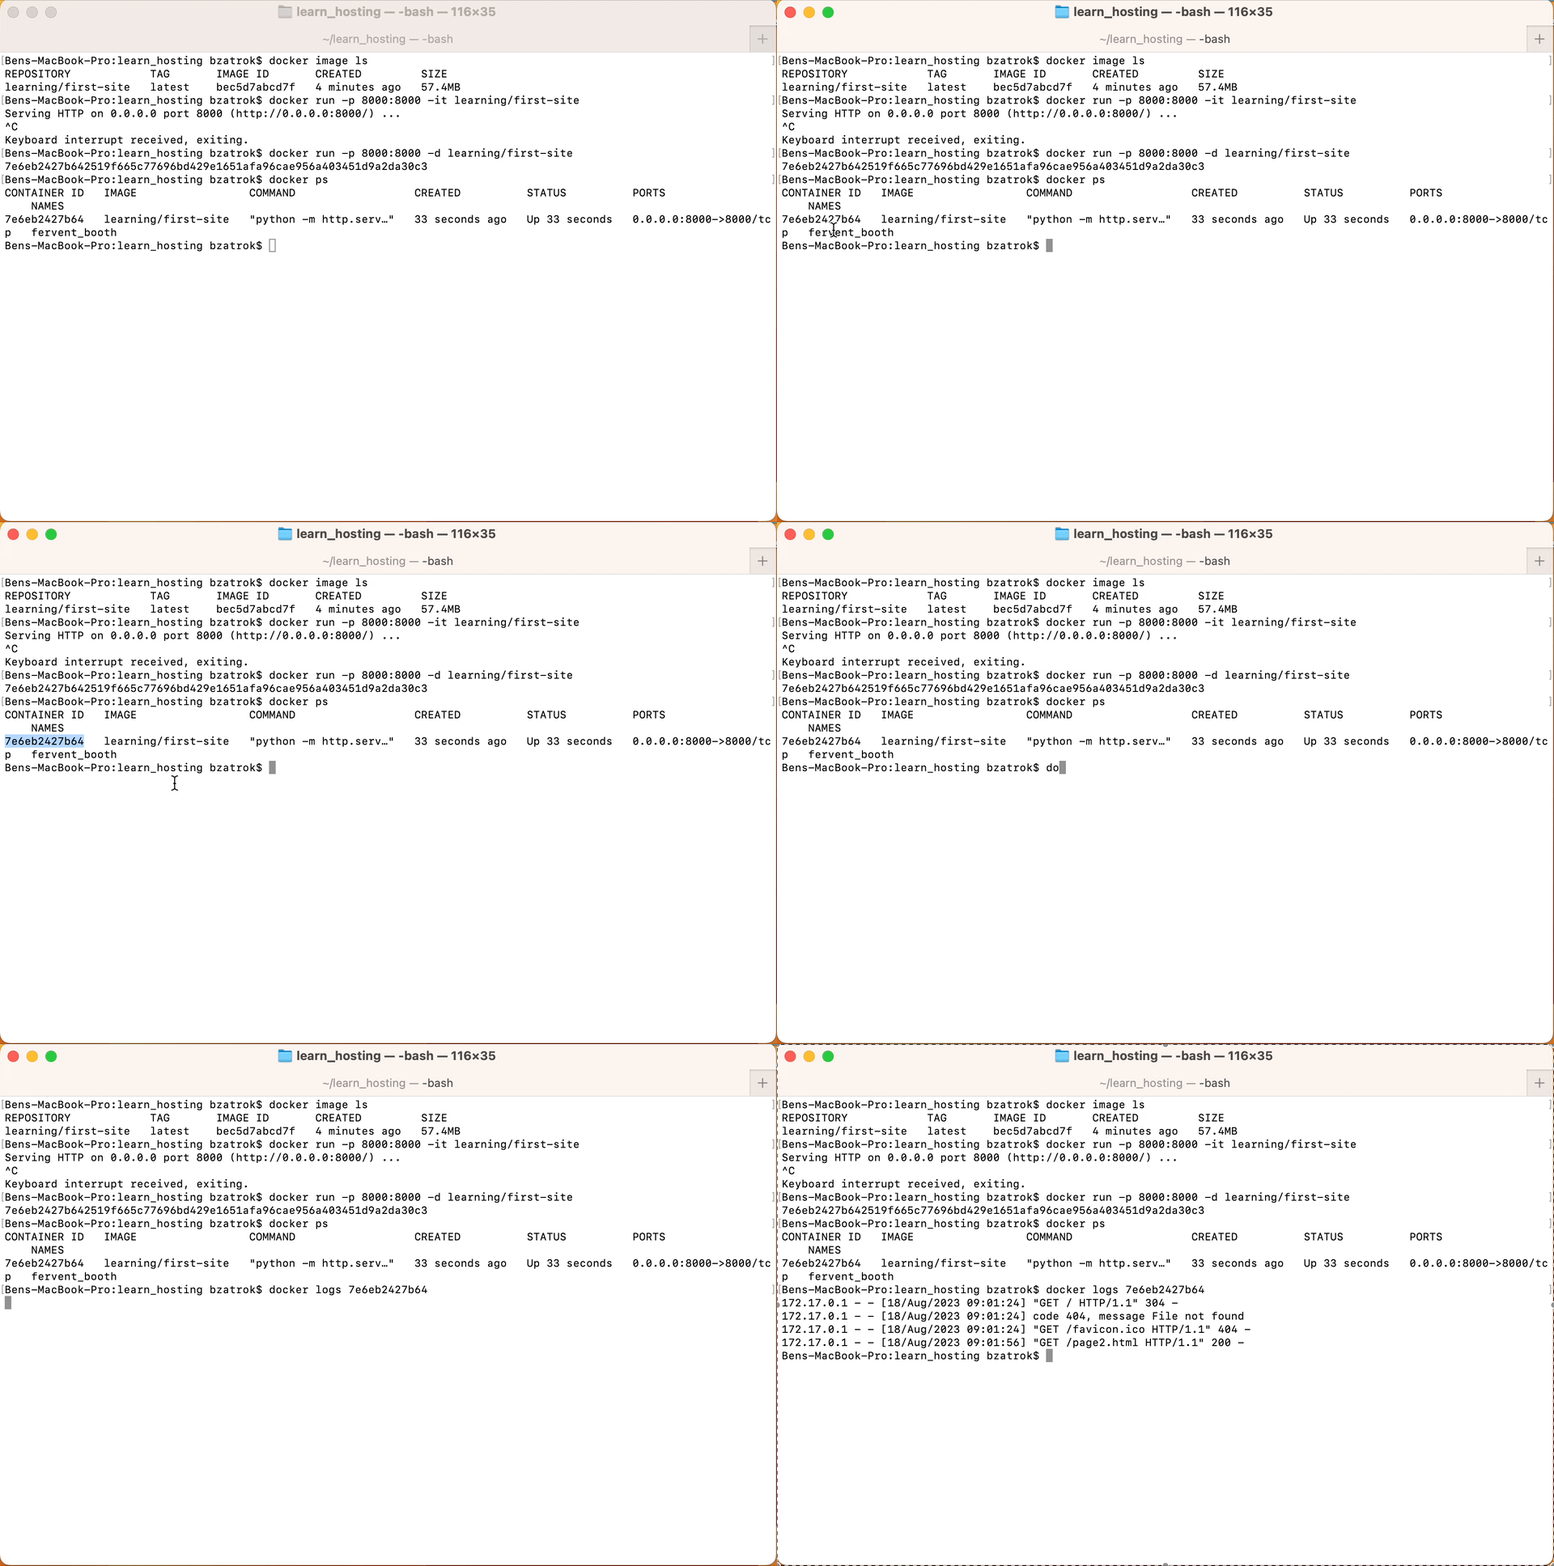
For now, we'll stop this container so it doesn't keep running in the background. To do this, we need to run docker container stop 7e6eb2427b64. This command
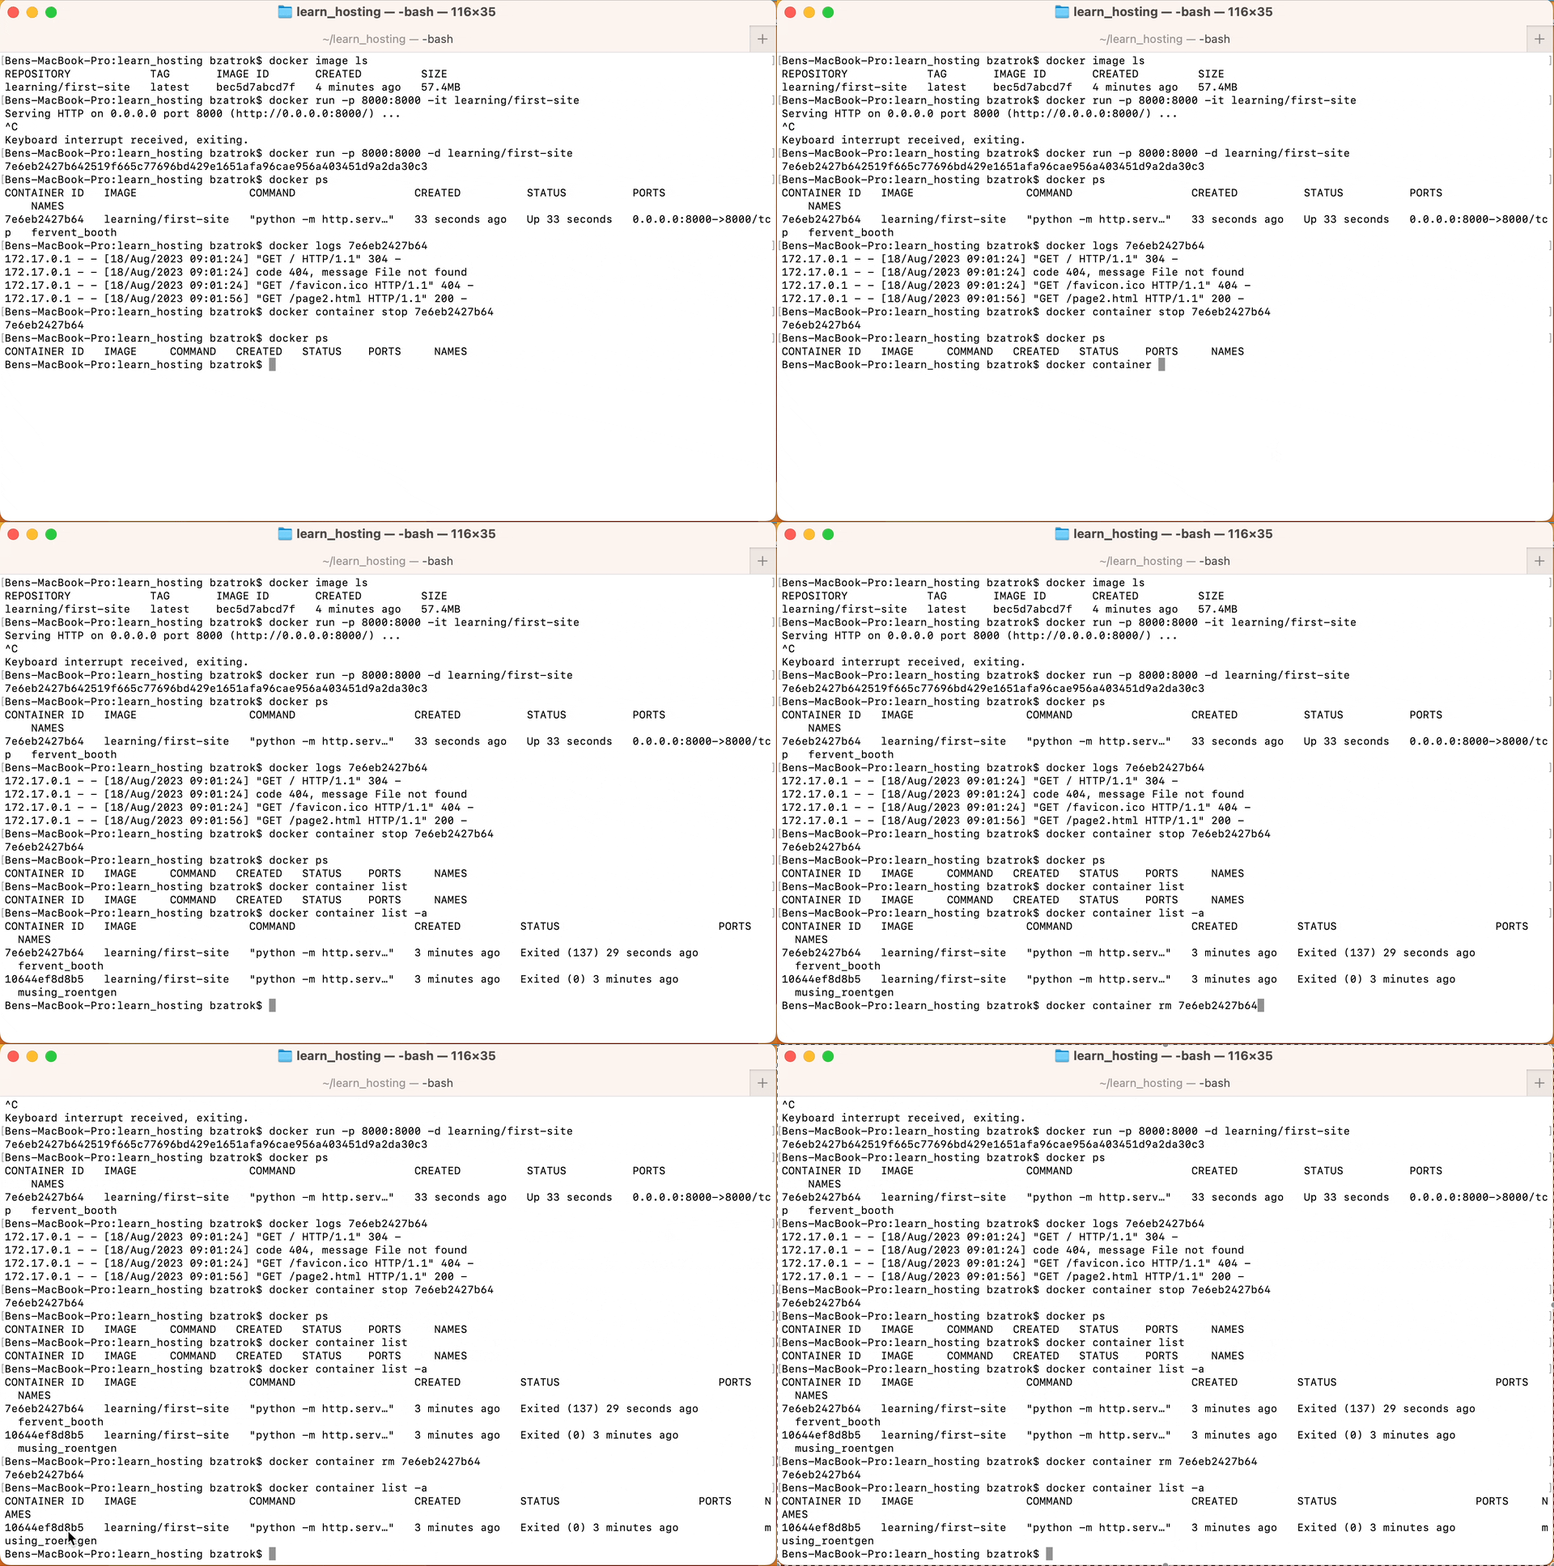
Since our Docker container doesn't require any special configuration or a database to run, we can easily recreate it. If we're not using it, we can delete the container to save space on our machine. Note that this will not affect the image the container was created from! Containers and images are handled separately by Docker. When ready, run this command to delete the container:
docker container rm 7e6eb2427b64
If we check now, we'll see that the container 7e6eb2427b64 no longer exists and the space it used has been freed up.
I think it's time to wrap up! Well done if you stuck around and went through building your (maybe) first docker image & running it locally as a container. We'll continue with hosting open source container and multi-container setups on your local machine. After that, you'll be ready to move on to setting up your external server.
Stay tuned!
Source code for the HTML in this article can be found here, within the creating-a-diy-docker-image folder:
If you like what I wrote, buy me a beer:


