Intro into hosting I: self-hosting your own code
Hands-on experience with creating your own containers is a great way to learn, but most content is aimed at developers. I wrote a series of articles explaining the concepts of hosting through self-hosting, keeping it simple. It's a great starting point for anyone interested in containerization.

Disclaimer: This article introduces hosting concepts using easy to use tools. Don't take the approach outlined here as a best practice for hosting anything professionally.
I enjoy hobby projects as a way to learn new skills hands on. I work as a software developer and try to absorb as many aspects of the field as I can. Occasionally, I do weekend projects to pick up new skills I wouldn't normally have time for during my workdays. One of my ongoing projects is my "homelab" server -an at-home mini PC-, which runs a number of different things.
Does self hosting mean you have a large server at home?
Not at all! This is the cheapest and most sustainable way to do it, in my opinion. If you have an old computer or laptop lying around collecting dust, turning it into a home server is a useful way to give it a second life. You can also self-host on a small computer like a Raspberry Pi, or use a mini PC like an Intel NUC.
Alternatively, you can also get relatively cheap cloud hosting with smaller hosting providers. Renting a small server on these platform can take you quite far if you want to run your own services. Providers like Digital Ocean offer a standalone VPS (virtual private server) for a few euros a month, charged by the hour. Since you can delete this server at any time, it's also a great way to get started or try hosting out for a small price.
Aside from being a fun activity -if you're into computers-, self hosting is a great way to learn about networking, servers, remote management, containerization, cloud, etc. Figuring out how to point a domain to your server is a great learning opportunity to understand how DNS (domain name system) servers work. Setting up services via the command line can give you confidence and a new perspective on how computers work behind the scenes.
What can you self host?
A myriad of things can be self hosted. Even if you don't have your own software, there are great resources on Github to find self-hostable services. Many of these are free and open source. For instance, check out this awesome-selhosted list.
Among other things, I self-host an ad blocker, a media server, a VPN, my personal websites, a test suite for website uptime monitoring, the back-end for a chatbot, a build server used for software development, a minecraft server, a secondary backup server for my content and blogs. The list goes on!
Who can access your self-hosted services?
Hosting means that you want to expose a service either:
- to your local machine, so only you and your own laptop or PC can access it
- to your local network, so people on your Wi-fi network can access it
- to the public internet, where anybody can access it (we'll talk about limiting this with blacklisting/whitelisting later)
The more you open up your services to the public internet, the more imporant it becomes to think about security. It's a good idea to start out with self hosting on your local network and learning about security principles. To get started with self-hosting, you need a server.
Where to self host?
I mentioned that you can host on your own hardware or in the cloud. If you have a credit card handy, you can opt to host with a cloud provider. While most people know of Azure or AWS, I think starting with them is quite challenging. They're highly configurable and complex, but this also means a steap learning curve for their use steeper. Using a provider like Digital Ocean means you get only the core services, but they're easier to create and manage. As an alternative, I suggest self-hosting at home on an old laptop, PC or Raspberry Pi. This, however requires that you either set up the laptop with a new operating system or buy a Raspberry Pi.
To test out of self-hosting is for you, let's try setting up a few services on your own machine first. If you're running a flavor of Linux or Mac OS, you can follow along directly. On Windows, you can use WSL (Windows Subsystem for Linux), which will let you install a Linux distribution on your system. See this guide for setting up WSL on windows.
The common aspect of Linux, MacOS and WSL is that you can access bash. Bash is a scripting language and command line interface that lets you issue commands directly to the system. When configuring servers, in most cases the preferred method is the command line. Bash is powerful tool to manage servers, automate routine tasks, and troubleshoot issues.
Let's get hosting (on your local machine)
To start, we'll run your first web server using a python command. Python is a programming language that's shipped with Linux and MacOS and can be installed from here for Windows.
localhost, the internal network of your local machine. Don't confuse a web server with a server. A web server is software, while server in general refers to the machine itself running the software.First, in your system of choice, open up Terminal. In Linux and MacOS this is installed by default and you can find it in your Applications folder. If you're running windows, depending on the version you have the Terminal might need to be installed via the Microsoft Store, but it's worthwhile.
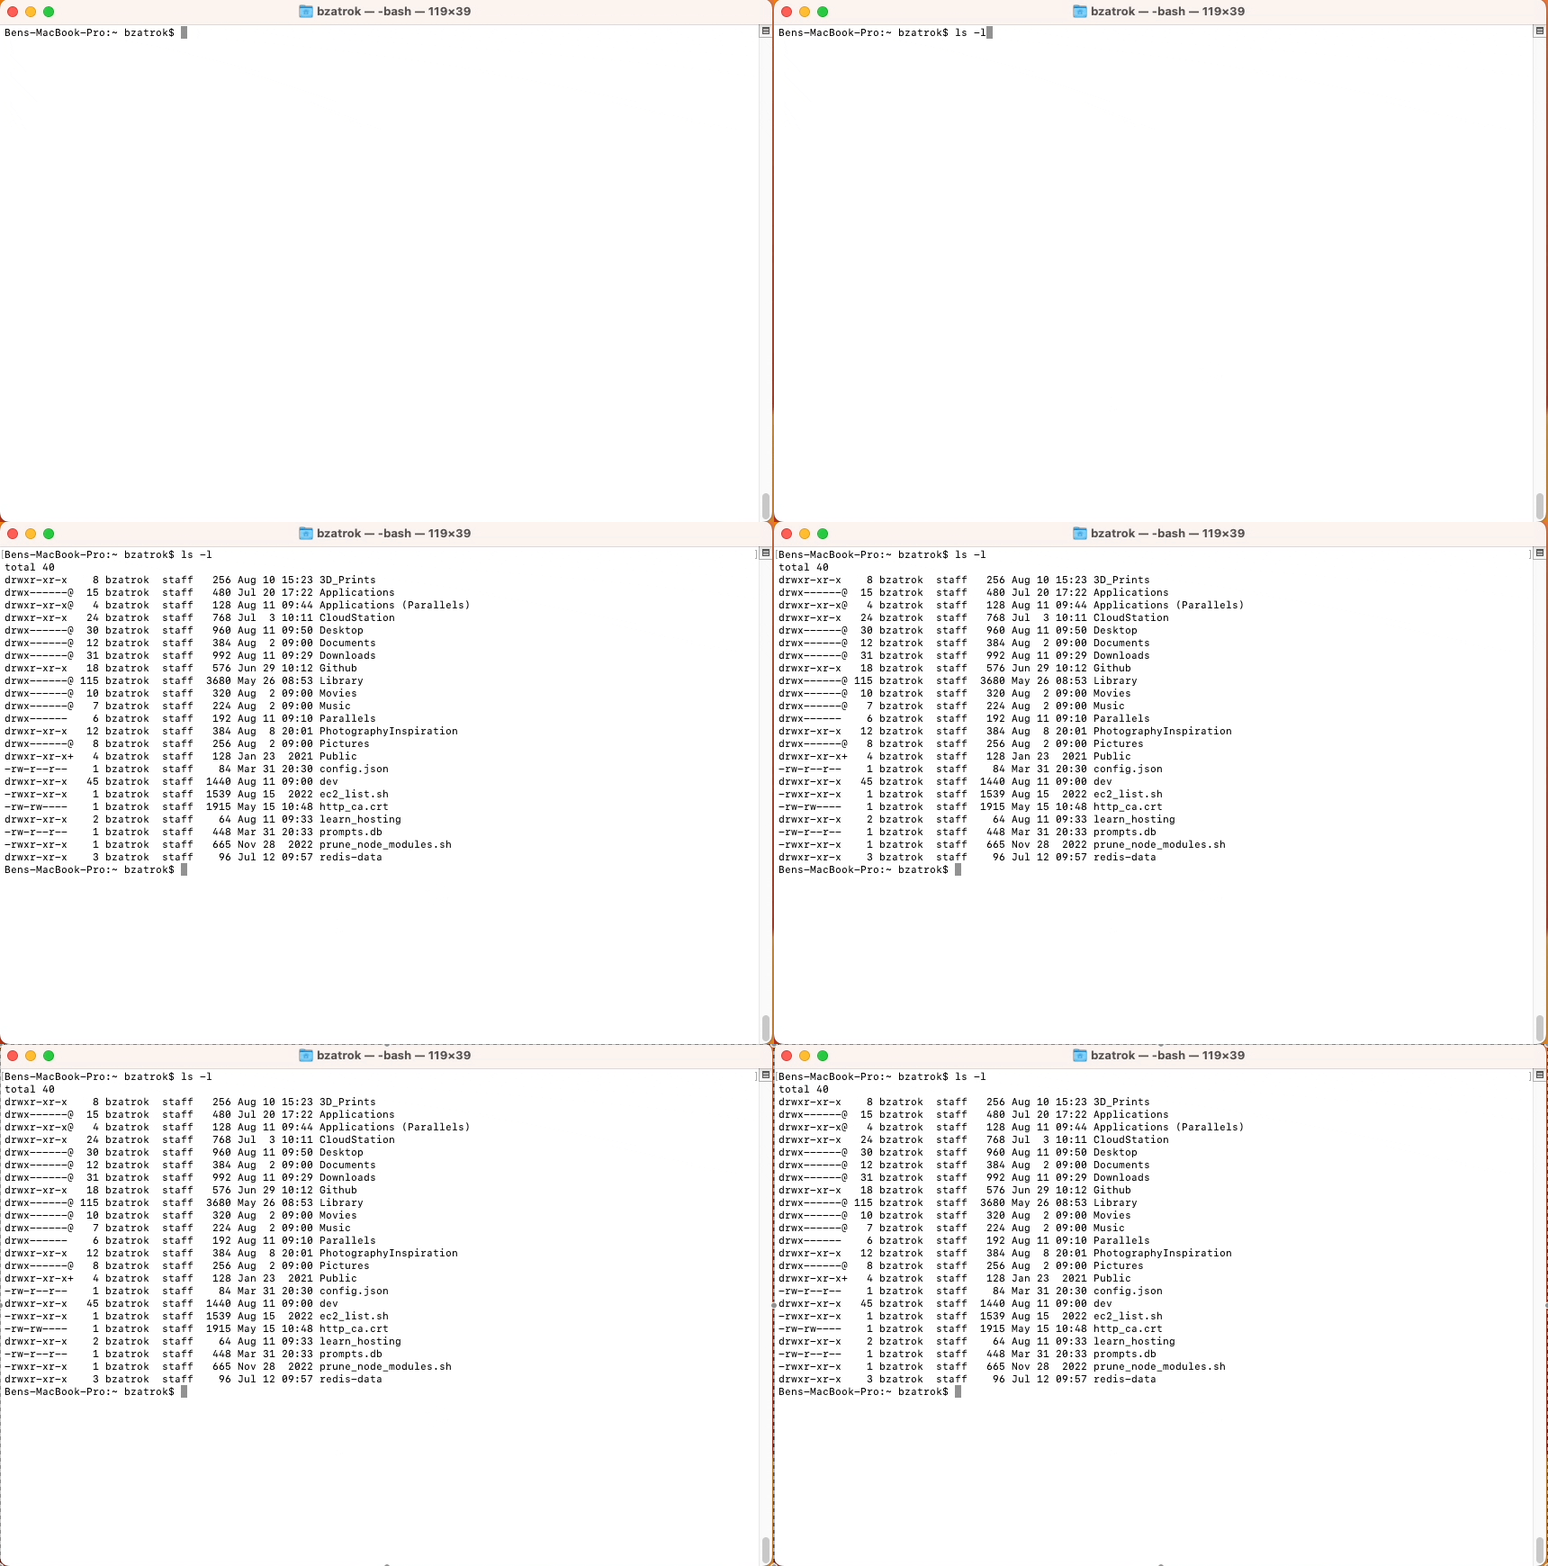
In the terminal, you'll see something like this:

By default, the terminal opens in your user's home folder, referred to by ~. This folder contains a few default folders like Documents, Downloads, etc. To see what's in this folder, type in ls -l. This will list the files and folders in your current directory and provide extra info like permissions, ownership, size and creation date.
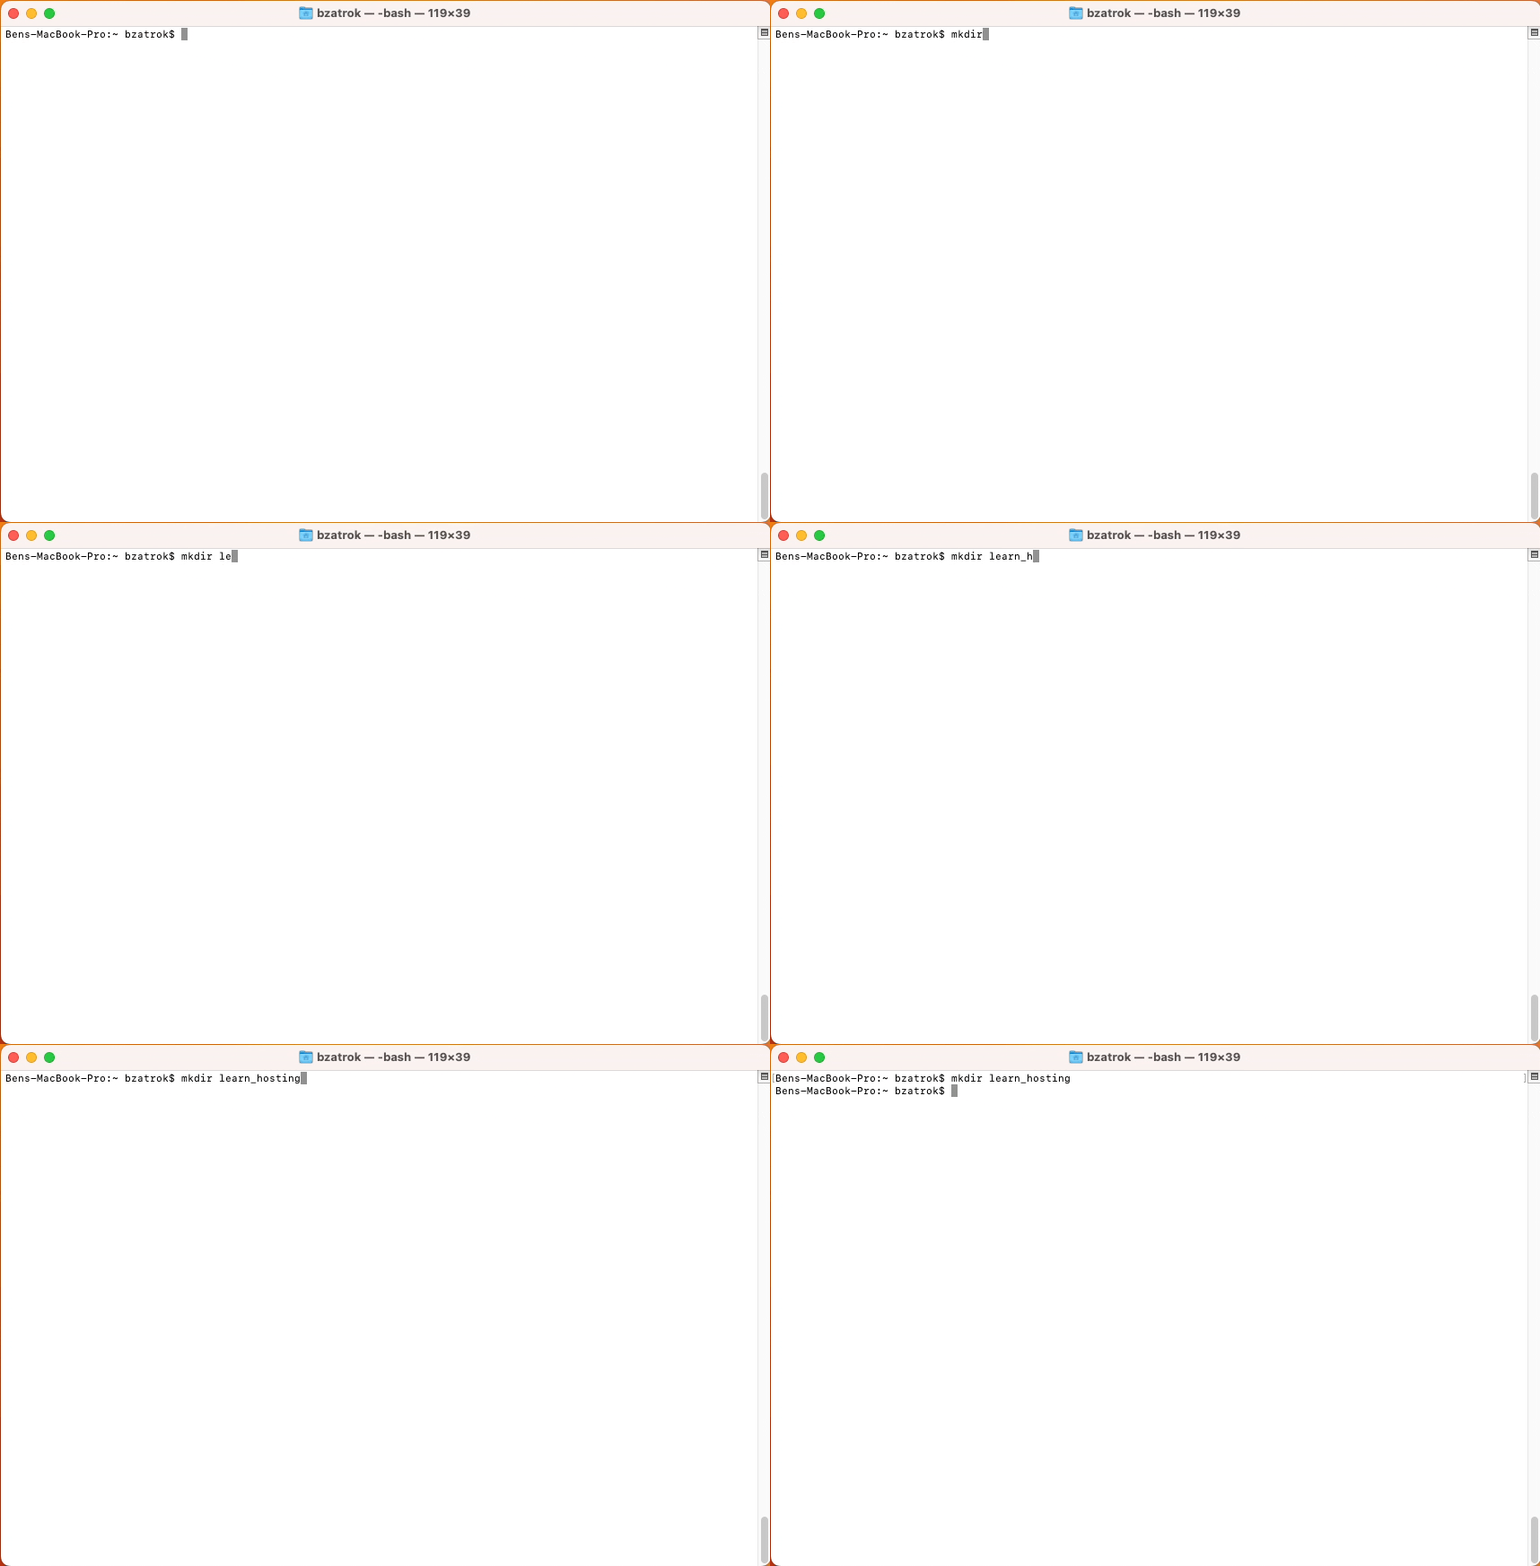
First, we'll make a new folder to try hosting from. We'll use the mkdir command, which helps you create folders (also called directories) on your system. Type in mkdir learn_hosting in your terminal. This will create a new folder called learn_hosting.
After this, we need to navigate this to folder. The cd command will let you change directories, meaning move the current folder you're in. The left part of your command prompt (what you see above after bzatrok) is the current folder. If it's empty, you're in the home directory of your user. Type in cd learn_hosting to move to the learn_hosting folder.
I like to run ls -l as a sanity check and to see what file and folders are in my current directory. If you run ls -l in the learn_hosting folder, you'll see that there is nothing there at the moment. Since we just created this folder, this is what we expected.
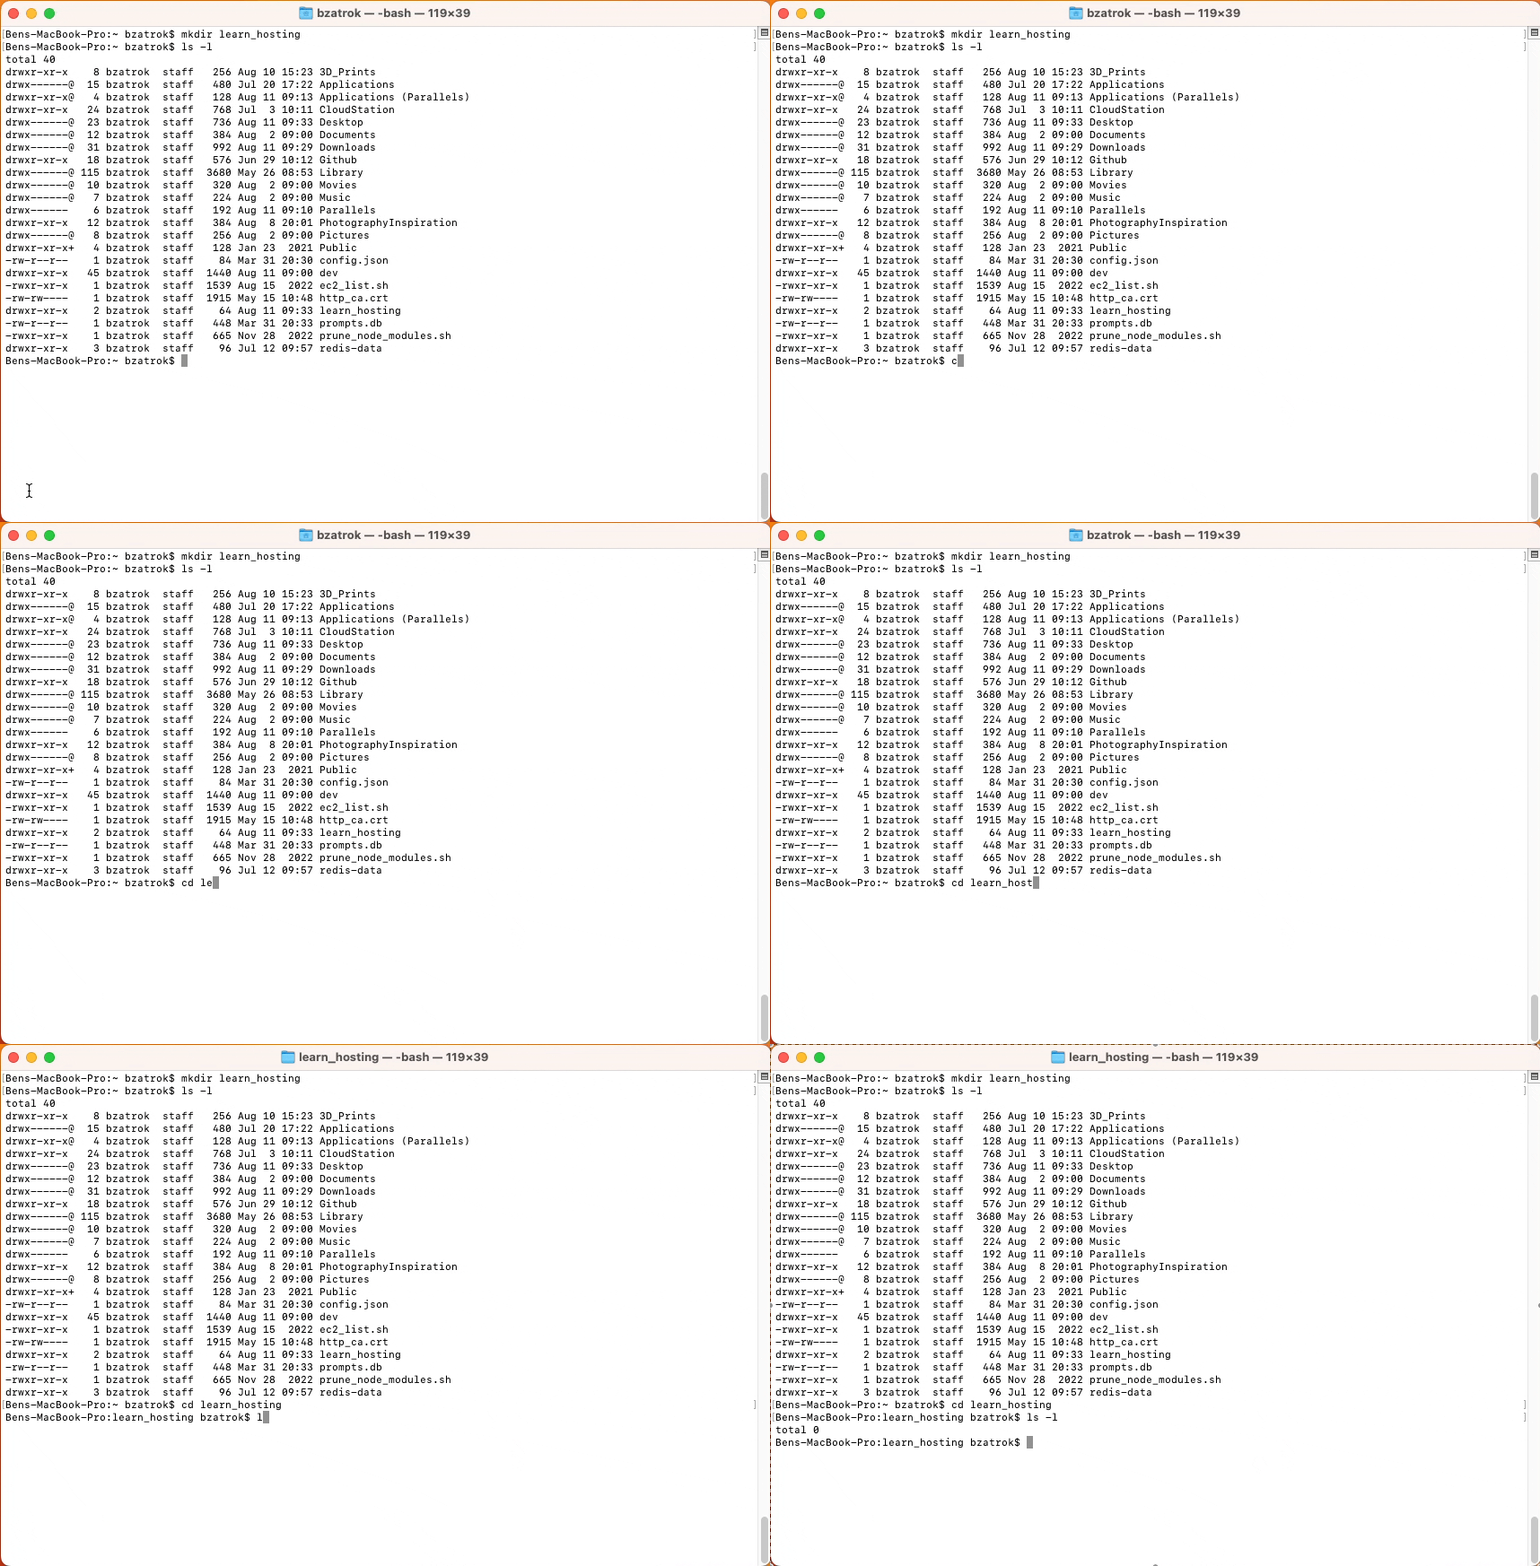
Now let's try running our web server. This is where we'll use python, which has the built in capability to run a web server in your current folder.
Make sure you've navigated to the learn_hosting folder, as mentioned in the previous steps. If you're unsure what folder you're in, type in echo $PWD. This will show you the full path of the curreny directory. You should see something like /Users/{username}/learn_hosting. If you don't, type in cd ~/learn_hosting to move folders.
When ready, run python -m http.server in your command line. If this gives you an error, you might need to try python3 -m http.server as an alternative.
This command will start a web server, which will make the files in your folder accessible to the local network.
This will make the folder accessible to your local machine and also your local network, so do not do it on a public network and remember to close the server after testing!
You may notice that you can no longer type commands into the terminal. This is because the http server's process is now actively using the terminal, essentially "capturing" it. The server is open until you press Ctrl+C or you close the terminal window.
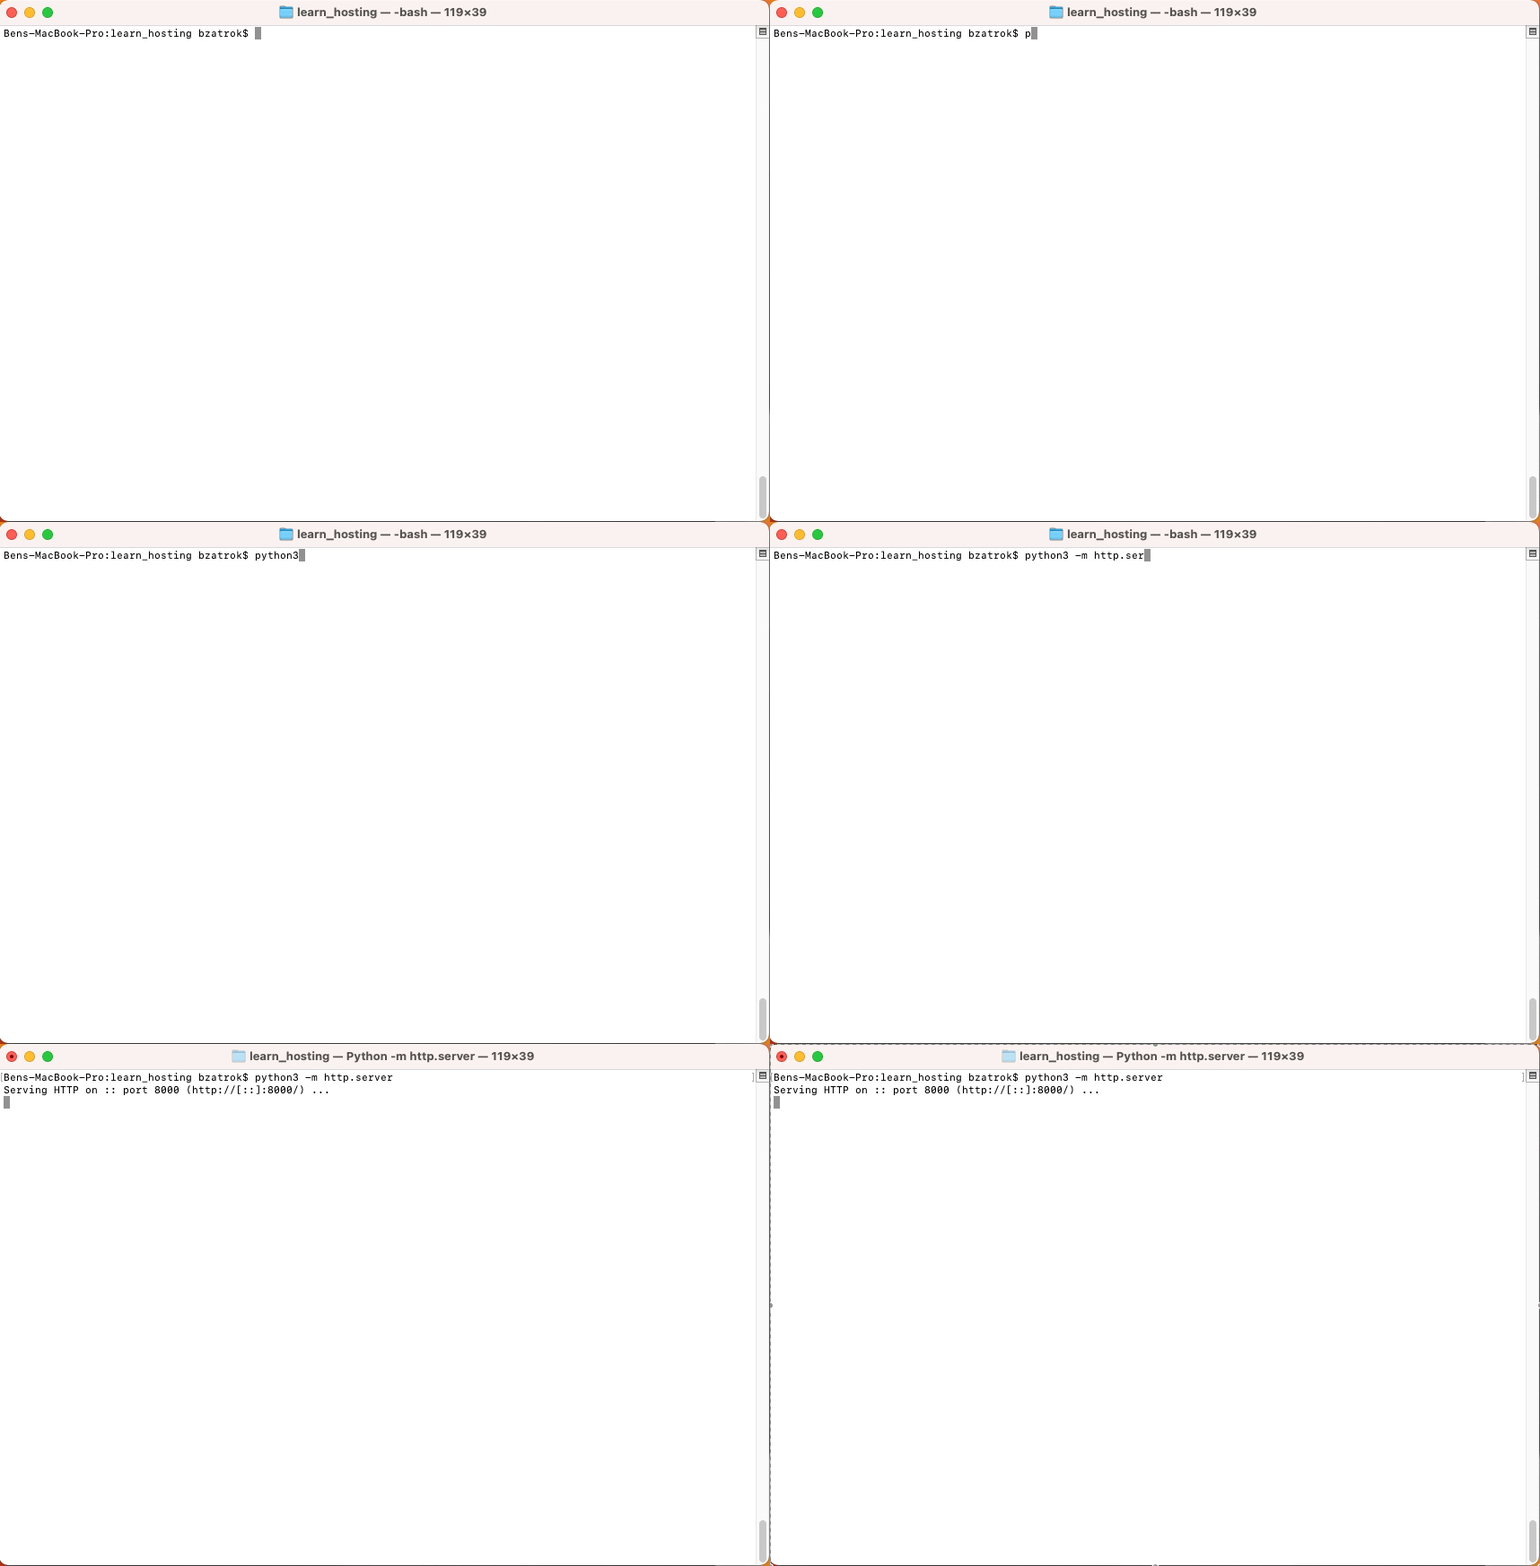
What is actually happening here? When the server is running, it is lisening to incoming requests on localhost port 8000. Basically if you visit http://localhost:8000 in your browser, you'll see the contents of this folder. This is because the web server is listening to your request, reading the contents of the folder, then returning that to you as HTML. Since there are no files in the folder, you'll see something like this in the browser:
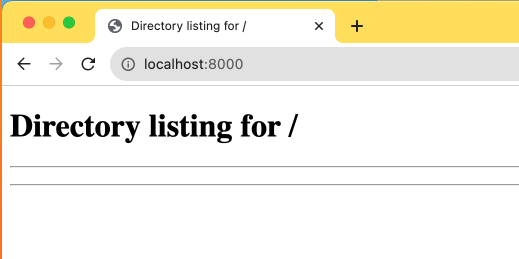
While you're visiting the site in the browser, you may have noticed that the terminal window where you're running the web server is showing a new line of text!

Short seque into HTTP requests
This is basically logging information from the python server, telling us there was a request that came in on 11th of August 2023. The rest of the information is information about the nature of the request. In order, these are:
GET-> The HTTP request method used for the request. The most common ones to know are GET and POST, which are typically used when downloading or pushing data, respectively, but there's much more to them than this./-> The endpoint that as called, in this case the root URL. This means that you're trying to reach them home page of the site and not specifying any path. A path would mean anything after the root URL, separated by a/. For example in the case ofhttp://localhost:8000/test.html, the path would be/test.html.HTTP/1.1-> The version of the HTTP protocol that was used to respond to the request. Version 1.1 has been around since 1997 and is supported by virtually all servers on the web. There is also version 2 and 3, which are more modern version and are supported and preferred by newer sites and servers.200-> The HTTP status code of the request. The HTTP status codes are numbers betwee 100-599, which helps identify if the request was successful or not. 200-299 are success status codes and generally mean things went well.
Want to access your server from another device, like your phone? You first need to know your local IP address for that. If you try to visit http://localhost:8000 from outside your computer, it won't work. This is because localhost is internal to each device. Localhost for your computer and for your mobile phone mean the internal network for each. To see one another, they get a private IP address from your network router.
To get your local IP address, go to the terminal on your computer and type in the following comands to get your local IP address:
- On MacOs, run
ipconfig getifaddr en0 - On Linux or WSL in Windows, run
hostname -I
This will output something like 192.168.1.5. The output will be the IP address your computer has on the local network. This is how it is identified by other devices, like your mobile phone. Keep in mind, they have to be on the same Wi-fi network!
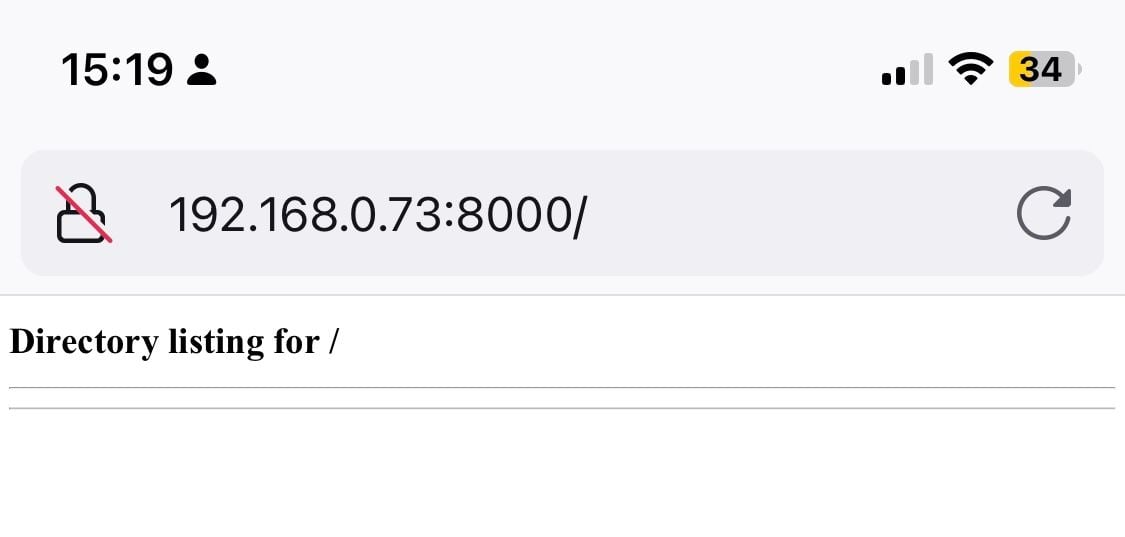
Try and visit http://{out_of_your_terminal_command}:8000 on your mobile phone. In my case, I see the site hosted from my computer.
Hosting some content
Now, let's host something on our site! To do this, we'll need to create a file in our hosted folder. You can create an index.html file in learn_hosting folder via a text editor, but I'll show you how to do it via the command line as well.
<html lang="en">

<head>
    <meta charset="utf-8">
    <meta name="viewport" content="width=device-width, initial-scale=1">
</head>

<body>
    <h1>Hello there</h1> <img src="https://media.tenor.com/WuOwfnsLcfYAAAAC/star-wars-obi-wan-kenobi.gif">
</body>

</html>
Above is a piece of HTML that we'll place into an index.html file. This is a very simple standalone file which can be interpreted by a web browser. It declares the most important parts of an HTML file, the wrapping <html> tag and it's two main components <head> for loading metadata and scripts not for display and the <body>, mainly for loading visual components of the page. The <meta> tags at the top help the created page scale correctly for desktop and mobile devices. The <h1> and <img> tags in the body of the page define a title and a linked image, respectively. I'll show you below how you can host this simple file on a local sever & render it via the browser. W3Schools have some great tutorials and references for basic HTML if you'd like to know dig into the topics.
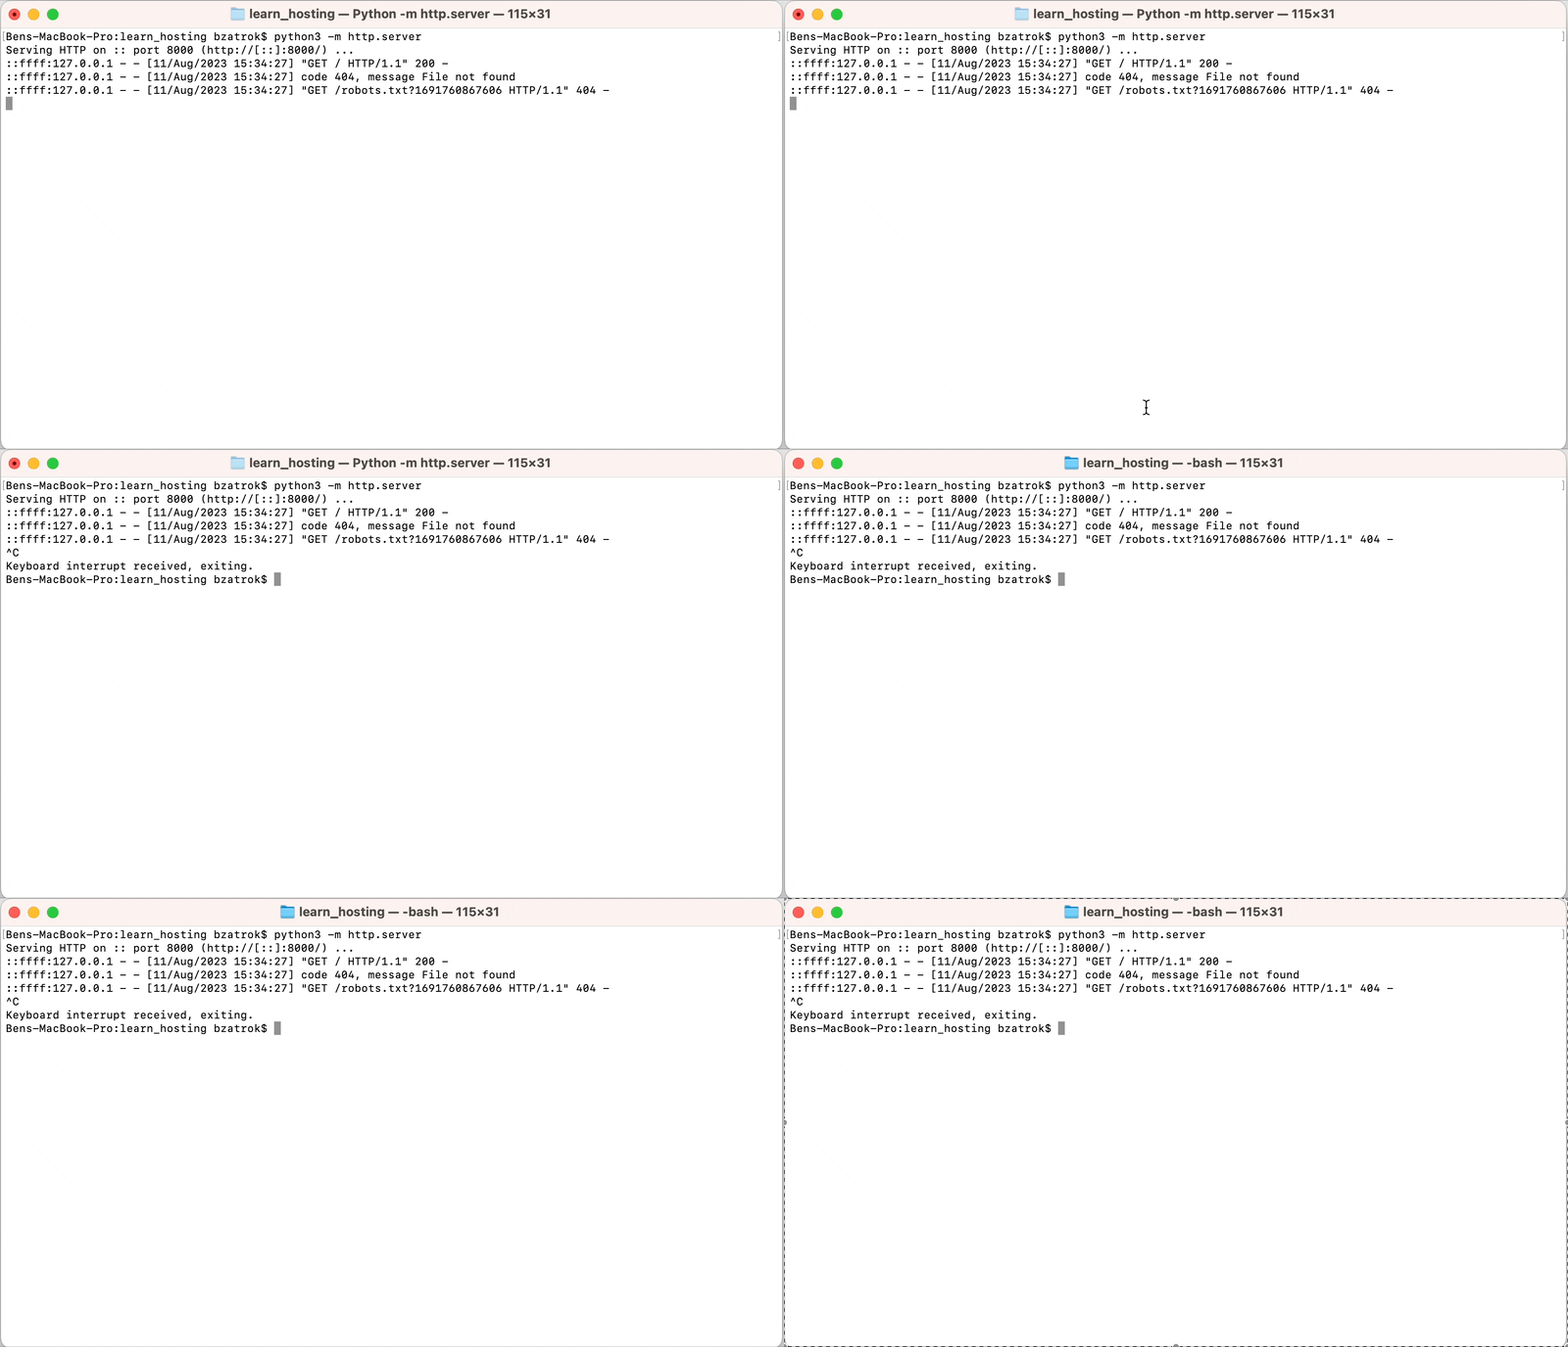
Let's get into implementation. First, let's stop our server by pressing Ctrl+C.
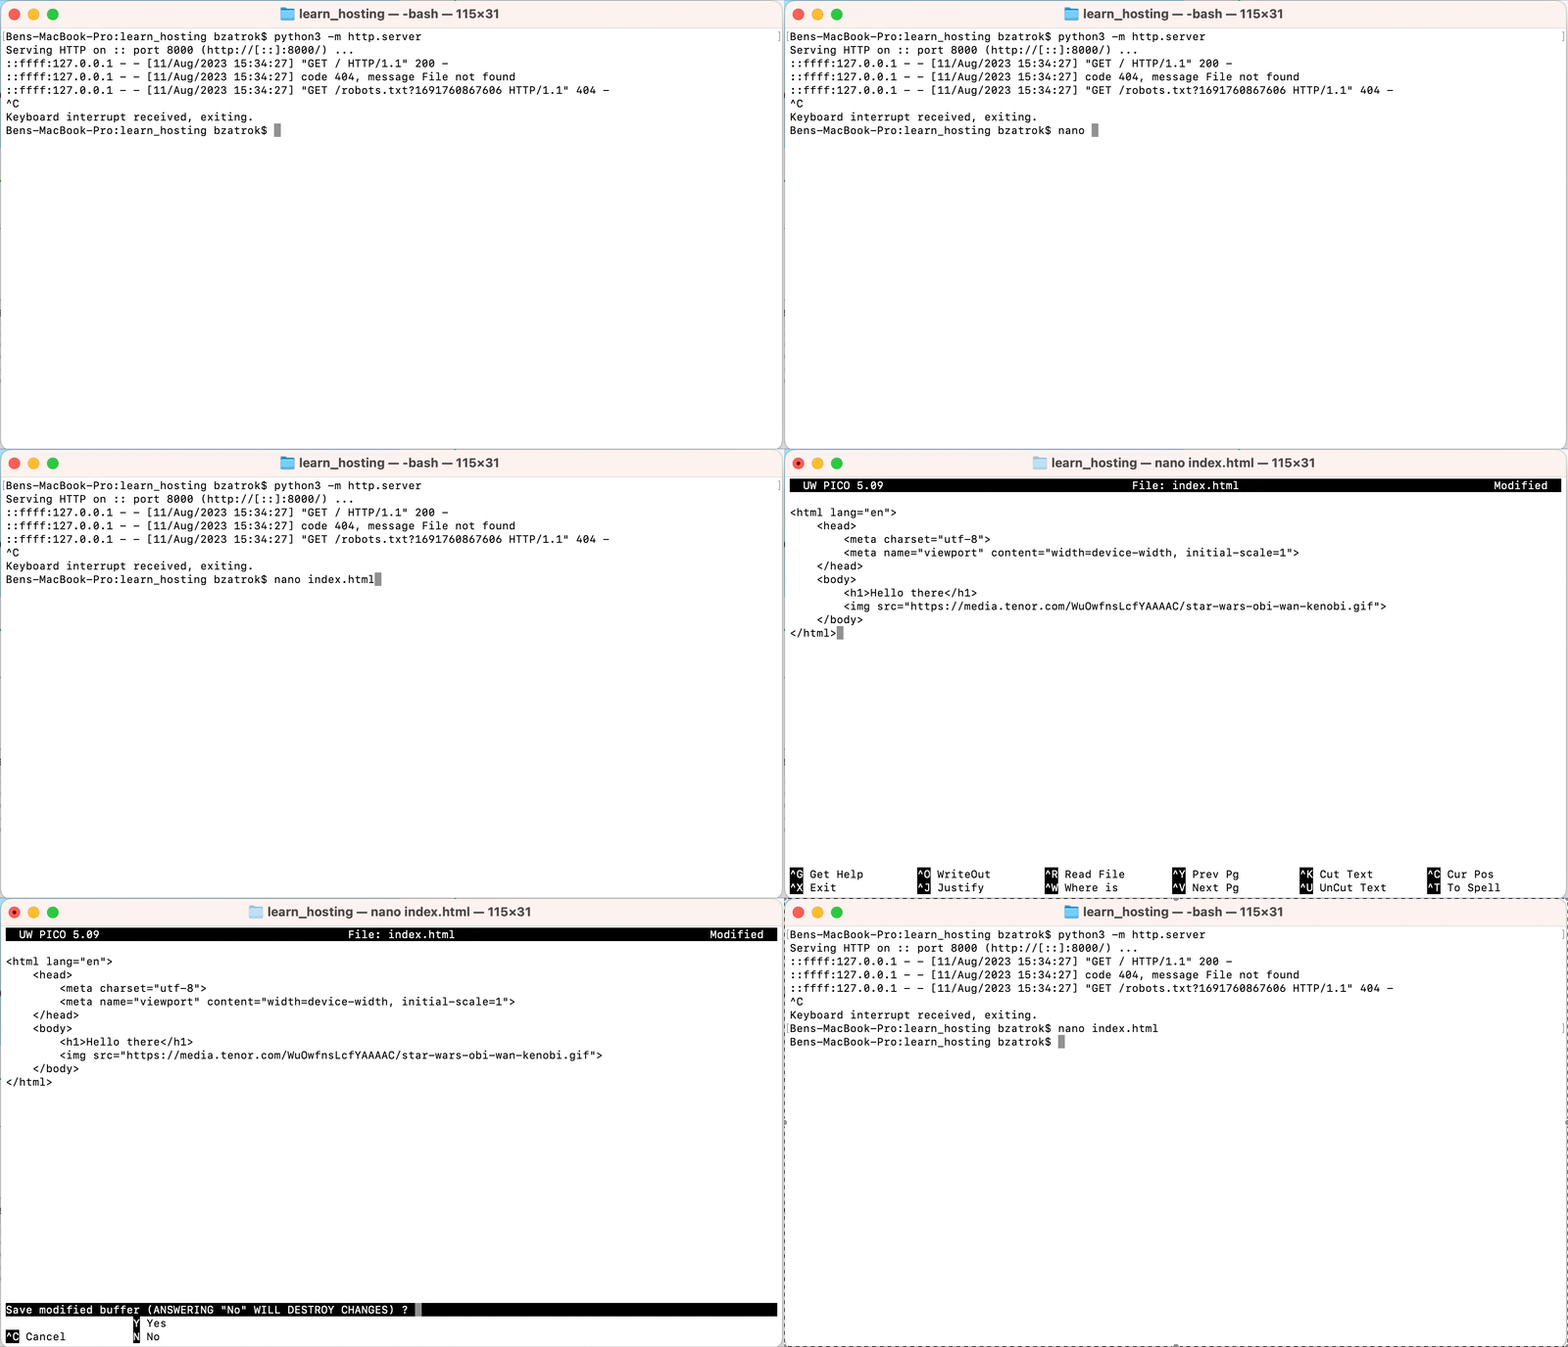
To create the file, first go to the terminal, make sure you're in the learn_hosting folder, type in nano index.html and press Enter.
This will open the nano command line text editor and open the new file. Copy the html code from above and press Ctrl+V or Command+V (depending on your OS) to past it into the fale. At this point the file is not yet saved. For that, we'll need to press Ctrl+x to promt nano to save, then press Y to confirm and press Enter exit. Now we're back in the terminal and have our index.html file ready.
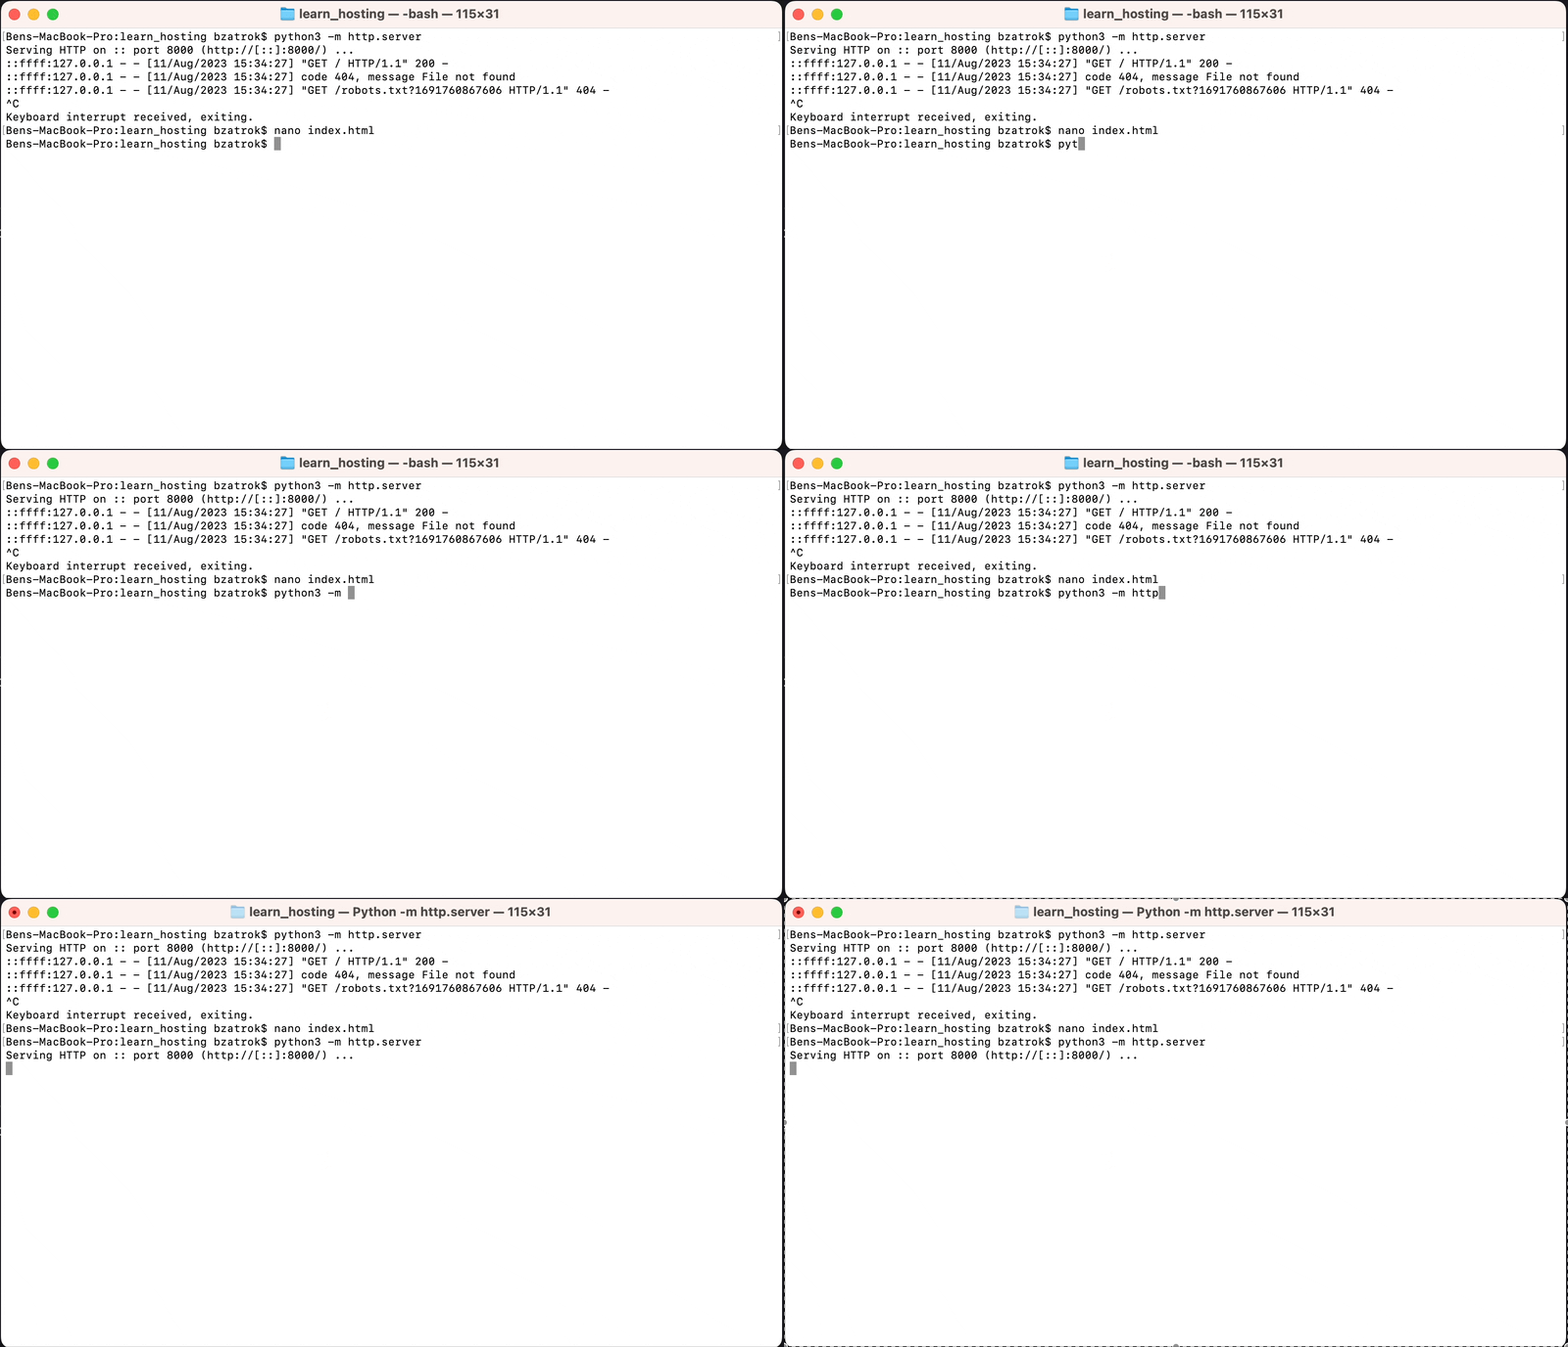
After this, we can start our server again using python -m http.server or python3 -m http.server (the command which worked for you earlier).
Now, when visiting http://localhost:8000, you'll see this:
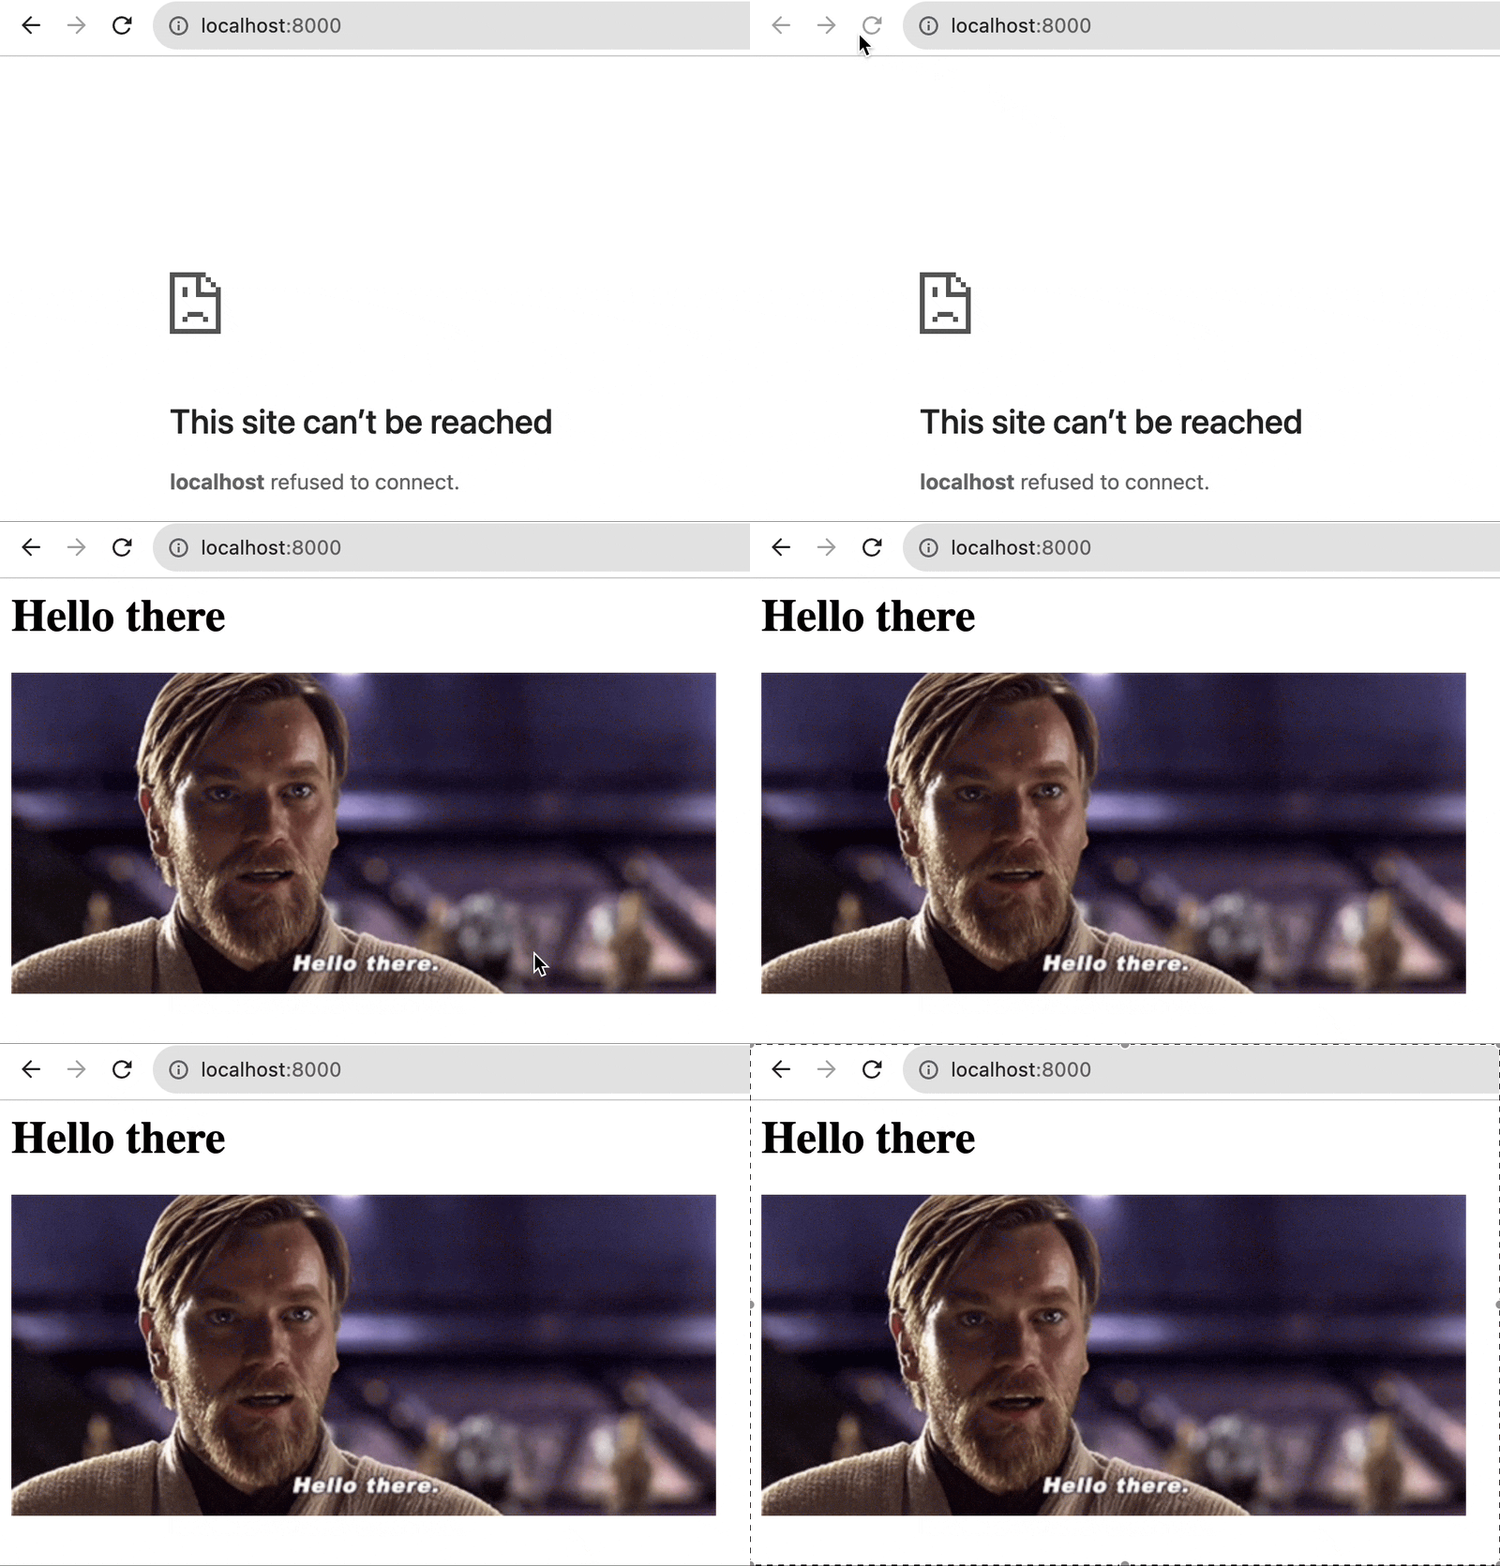
What are we seeing here? This is the index.html file's HTML content served by your web server and rendered by your browser. It is also reachable via your private IP you discovered before. Take a look at it on your phone as well:

While very basic and it doesn't do a lot, you've just hosted a website! Why does this work? Normally when you visit a web server, they default to the index.html file. In the early internet days, this was all you needed to define a home page for your site. If you wanted to add another page, you simply created another html file. For example if you added a page2.html file to your hosted folder, it would be served by your web server as http://localhost:8000/page2.html.
Let's try that out! Using the same process as before, let's create a 2nd page using nano. First, stop the server by clicking Ctrl+c, then type in nano page2.html. Past in the code below, then save & exit using Ctrl+x, then Y, then Enter.
<html lang="en"> <head> <meta charset="utf-8"> <meta name="viewport" content="width=device-width, initial-scale=1"> </head> <body> <h1>General Kenobi!</h1> <img src="https://media.tenor.com/QFSdaXEwtBAAAAAC/hello-there-general-kenobi.gif"> </body></html>Ater saving, start the server again using python -m http.server and reload the page in your browser. Now, go to http://localhost:8000/page2.html.

What did we do?
Overall, this is just a surface level explanation of how you can host some very simple content. But in a real life scenario, you want your sites to do more than just render HTML. While hosting a website looked like this 20-30 years ago, today this process is a bit different. There are more complex functions possible using modern web development frameworks. You also host via the cloud or a remote server as we discussed earlier. You also have more complex networking concepts to consider. Let's go on and discuss how we could host some open source services using today's tools! I'm working on followup articles, will add them here once I have something tangible.
Source code for the HTML in this article can be found here, within the intro-into-hosting folder:
If you enjoyed following along, check out the next article in the series:

If you like what I wrote, buy me a beer:


