Intro into hosting III: Hosting open-source containers
In the previous articles, we created our own simple Docker image. Now we take a step further and run docker containers from open source images.

XDisclaimer: This article introduces hosting concepts using easy to use tools. Don't take the approach outlined here as a best practice for hosting anything professionally.
In the previous articles, we created our own simple Docker image and ran it as a container on our local machine. I'd like to take us a step further and run docker containers from open source images. Since we already created and ran a simple docker image, we'll get an idea how this could be done when the container is made by a 3rd party. We'll also run into situations where an applications requires multiple containers to run.
If you're joining in now, check out the previous articles in this series:


Running multiple container applications
Many applications require running multiple Docker containers in parallel to function optimally. But why is this the case?
Think of an application as a bustling city. Within this city, there are various districts or neighborhoods, each with its own unique role. Similarly, an application is often a conglomeration of different services, seamlessly working in tandem.
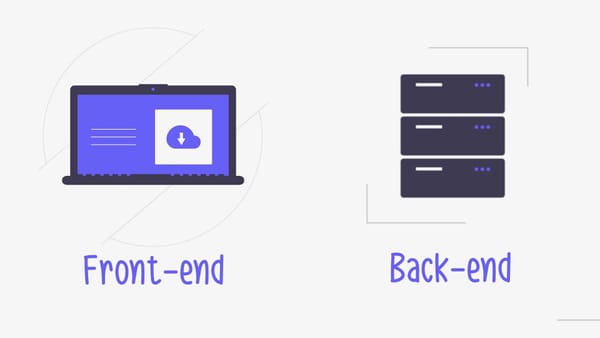
You might have come across terms like "front-end" and "back-end". The front-end refers to what you visually interact with, such as the user interface rendered in your browser. On the other hand, the back-end encompasses functionalities like processing data, managing business logic, and storing information. Often these front-end and back-end services are discrete entities, communicating through an API (Application Programming Interface).
APIs can be visualized as bridges or channels. They connect different parts of our city (or application) by relaying information in various formats like JSON, XML, or gRPC. For instance, a weather website might tap into a weather API to fetch and display real-time weather updates.
When delving into Docker containers, it's crucial to understand that each container is typically dedicated to a single service, similar to a specialized district in our city analogy. This service communicates through a port. So, if an application necessitates a front-end, a back-end, and perhaps a database, each of these would likely reside in its own separate container. But would you want to set up and manage each district of a city independently? It's feasible but far from efficient.
Enter Docker Compose: a tool that facilitates the orchestration of multiple containers. Think of it as the city's town planning committee. With Docker Compose, you can craft a blueprint (a docker-compose.yml file) that delineates how different containers (or districts) interact and coexist. It essentially consolidates commands like docker run, and for those developing their containers, even docker build.
To me, Docker Compose stands out as the most intuitive and manageable way to oversee self-hosted containers. Let's delve deeper and craft a sample docker-compose.yml file using the learning/first-site image from our previous discussion.
You can think of the docker-compose.yml file as an architectural blueprint. It outlines how multiple Docker containers should be orchestrated together, detailing their relationships and the roles they play in the overall application.
The syntax or language of this blueprint is sensitive to spaces and indentations, much like programming languages like Python. Properly indented lines indicate hierarchy and nesting. To demonstrate, let's turn the docker run command from our previous article into a compose file. For reference, here is the command:
docker run -p 8000:8000 -it learning/first-site:latest
Here it is when we turn it into a docker-compose.yml file.
version: '3'

services:
  first-site:
    image: learning/first-site:latest
    ports:
      - "8000:8000"
This compose file will take an existing learning/first-site image and turn it into a container. It will also specify a port 8000 on localhost to be bound to the container's port 8000.
Running containers based on a compose file is a bit simpler than with docker run. In this case, you do not need to specify parameters for your containers since they're defined in your compose file instead. You can run your containers using this command:
docker compose up
On thing to note is that the above compose file will require you to separately run docker build and create the docker image if it's missing. Since we want to avoid this, we need to adjust the file a bit:
version: '3'

services:
  first-site:
    build: .
    image: learning/first-site:latest
    ports:
      - "8000:8000"
We've added the build: . snippet to the file. Remember that in the command line . refers to the current folder. What this line means is that the docker compose file should look for a Dockerfile in the current directly to build the learning/first-site image if it's missing.
To make sure docker compose does this is to add the --build argument:
docker compose up --build
Let's create this docker-compose.yml file in your learn-hosting folder. If you don't have the files from before, feel free to download them from the creating-a-diy-docker-image folder from this git repository:
To begin, navigate to your folder via the terminal:
cd learning-hosting
Make sure your files are available:
ls -l
If everything is in order, let's run
docker compose up
This will create and run the containers defined in the docker-compose.yml file until you close your terminal. It will show & label the console outputs from each of your containers so you can inspect that they're doing. While the command is running in your terminal, you should be able to reach our site via http://localhost:8000. You can press Ctrl+C to shut the containers down. This command can also be used to run container in the background. For this, you need to add the -d parameter, which will run the containers in detached mode, same as with docker run.
Hosting open source containers
Now, as promised, let's host someone else's code:
One service I've been eager to host for myself is Mealie. It's an open source recipe manager, which would make it easier for me to keep a record of my family's recipes. You can learn more about it via Github here:
Since I haven't tried this tool before, I want to test it out on my local machine first, before spending the time to host it in my server. Normally, to run 3rd party containers, we'll rely on the documentation provided by the developer. When we visit Mealie's Github page, we see that it provides a link to it's documentation:

This leads us to the getting started guide:

We'll want to look for 'Getting Started' or 'Installation'. After looking through the docs, I found an 'SQLite (Recommended)' page under the 'Installation' menu.
As a background: SQLite is a very simple SQL database which stores all it's data in a single .sqlite file. It's great for simple sites/services that need to persist data. It's also possible to share the .sqlite file to access the same data on a separate machine, but this is a different story altogether.
The setup page shares a Docker Compose file that lays out the necessary containers & configurations for a simple instance of mealie. At the time of writing, these are the contents of the file:
---
version: "3.7"
services:
  mealie-frontend:
    image: hkotel/mealie:frontend-v1.0.0beta-5
    container_name: mealie-frontend
    environment:
    # Set Frontend ENV Variables Here
      - API_URL=http://mealie-api:9000 #
    restart: always
    ports:
      - "9925:3000" #
    volumes:
      - mealie-data:/app/data/ #
  mealie-api:
    image: hkotel/mealie:api-v1.0.0beta-5
    container_name: mealie-api
    deploy:
      resources:
        limits:
          memory: 1000M #
    volumes:
      - mealie-data:/app/data/
    environment:
    # Set Backend ENV Variables Here
      - ALLOW_SIGNUP=true
      - PUID=1000
      - PGID=1000
      - TZ=Europe/Amsterdam
      - MAX_WORKERS=1
      - WEB_CONCURRENCY=1
      - BASE_URL=https://mealie.yourdomain.com
    restart: always
volumes:
  mealie-data:
    driver: local
This compose file is quite a bit larger and more advanced than the previous one we made. It consists of several services, environment variables, volumes. Let's break it down:
The version number and services top level key are the same, however we have 2 services: 'mealie-frontend' and 'mealie-api'. We also have a volume called 'mealie-data'.
Separate services for front-end and api are common for many applications and mean that the part of the application that handles the business logic, interacts directly with the database and exposes data via API endpoints is separate from the user interface that the user interacts with.
The new keys we're seeing are 'environment', 'volumes', 'restart' and 'deploy'.
- environment: this is a list of environment variables that let you configure the applications so you can alter their behaviour. Think setting up a username and password for a database or specifying an api key for an integration. The keys and values for this are specific to the application you're running and they're usually listed by the documentation.
- volumes: volumes allow containers to persist data on your disk. Normally docker containers cannot directly save data to the host system without a volume. There are two types of volumes: bind mounts and volumes. Bind mounts will mirror a folder or file on the host machine to the container and vice versa, meaning files created by docker in the given folder will appear on your host machine. Volumes on the other hand are fully managed by docker and cannot be seen in your host machine's drive.
- restart: this specifies the restart policy of the container in case the container crashes or the docker engine restarts. Setting 'always' here makes sure that if you run the compose file in detached mode, your applications will be always be started when the docker engine runs.
- deploy: this is a less commonly user key, which allows you to specify maximum system resources like cpu cores and memory used by the container.
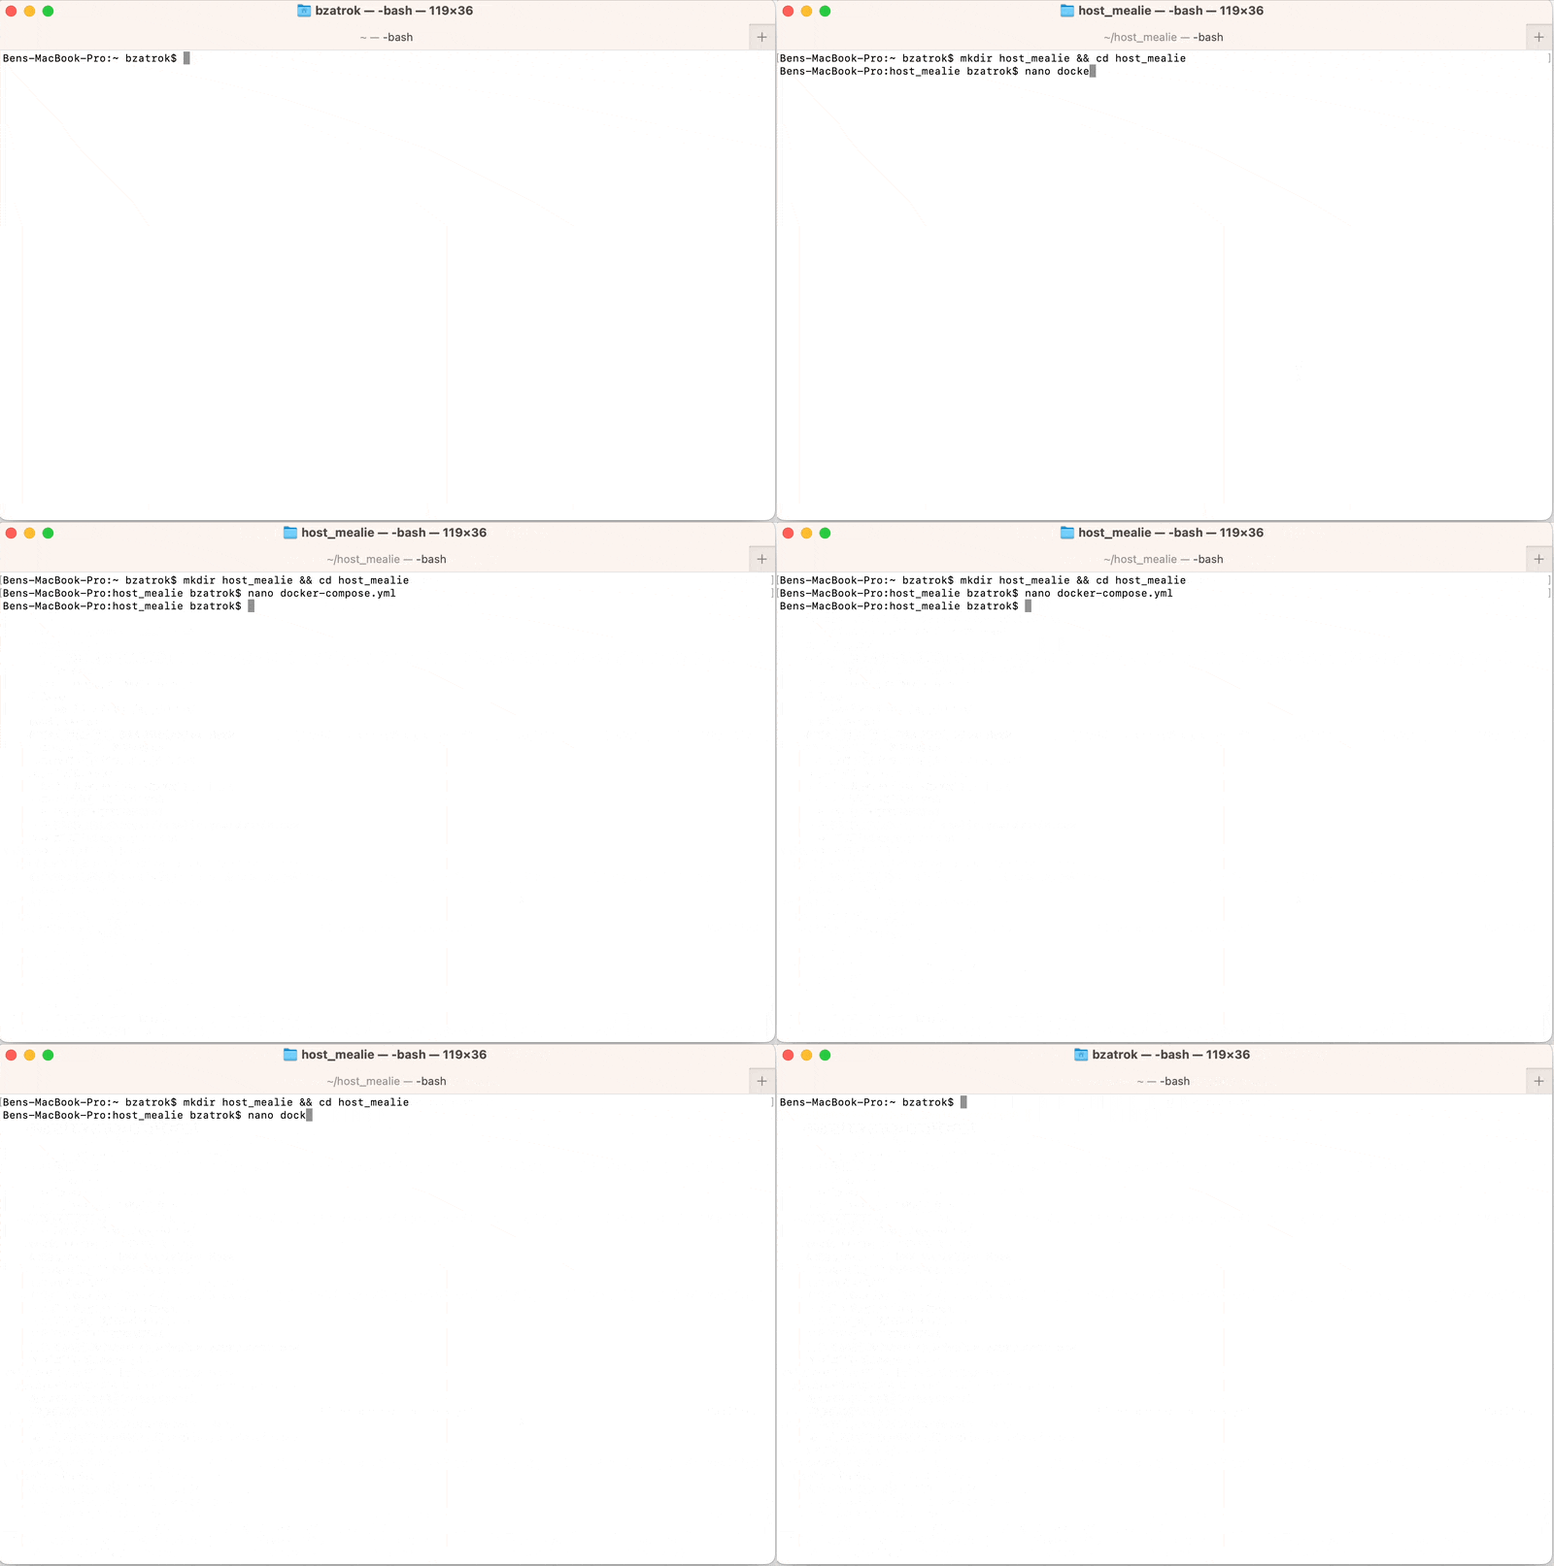
Let's host these container! We'll create a new folder on our host system, navigate into it and create a new docker-compose.yml file. Finally, we'll copy the above code into it:
cd ~ && mkdir host_mealie && cd host_mealie
This will create the folder and navigate into it in one command. Afterwards let's create the file with:
sudo nano docker-compose.yml
Now copy the code into the editor and save with Ctrl+X, y then enter.
Finally, what we need to do to set up our container is run docker compose up:
This will download the necessary containers and get them started.
To find what url we need to visit, we should check the compose file. Our entry point is the front-end service, which has this 'ports' key:
 ports:
      - "9925:3000" #
As we learned earlier, this means that the localhost port 9925 on the host machine will be bound to port 3000 inside the container. If all went well, we should have mealie running on http://localhost:9925! Let's see:

Well done, we've hosted our first 3rd party docker container! Since a lot of the available open source services support docker as a setup method, understanding how to run these containers locally and remotely is powerful knowledge.
Thank you again for sticking around this long! If you like the stuff I write about, buy me a beer! See you in the next article!


